Clipping Manager
![]()
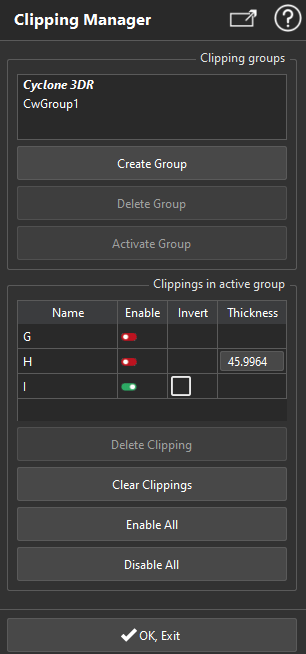
This command is used to create, edit or delete clipping objects in CloudWorx.
No selection is needed to launch the command. But you need to have a CloudWorx cloud created.
|
|
|
Groups
A CloudWorx Group is a sub-folder of Clipping Group.
All clippings out of a sub-folder are automatically gathered into a group named Cyclone 3DR.
Slices: Thickness - Depth
Modifying the thickness will move both limit planes.
Modifying the depth (Construct/Edit) will move the first limit plane.
Note
There is a maximum of clipping objects activated at the same time. For example:
1 limit box + 1 limit slice
4 limit slices
4 limit planes
3 limit planes + one limit slice
...
CloudWorx project, created from Autocad, may store clipping fences. Fences are not 3DR objects so they don't appear in 3DR tree view. Nevertheless, they can be activated. You have to open the clipping manager in order to manage it.
