Exercise: measurements on a mesh
Open the file EnterPoints.3dr.
There are different tools to measure coordinates, distances, angles or surfaces such as the tools listed below:
|
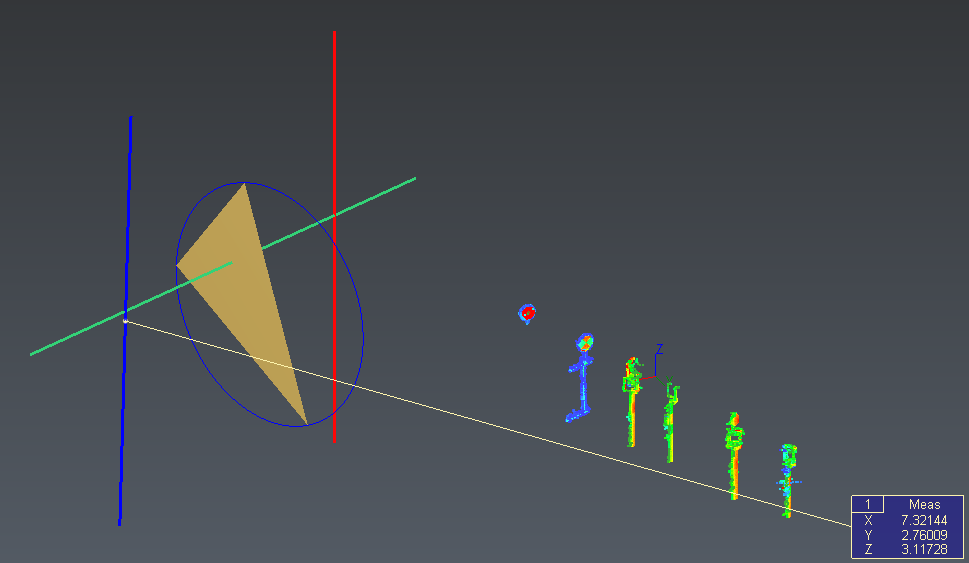
Launch the command Measure Point and select the middle of the blue line by choosing the Middle / Center option in the toolbar. Click OK, Exit, the command provides you the coordinates of the point and create a label (n°1) attached to this point. |
|
|
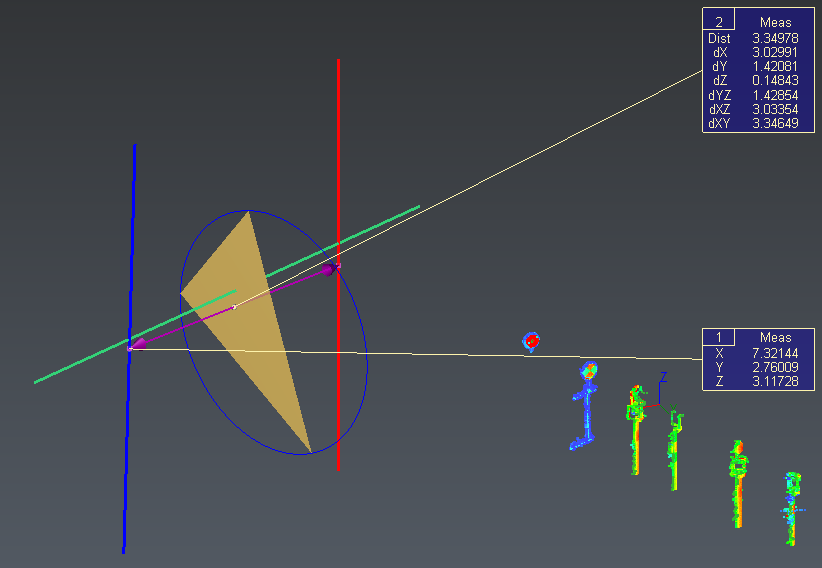
Launch the command Distance between Points and select the middle of the blue line and the middle of the red one. Click OK, Exit, the command creates a new label (n°2) and display an arrow to show the computed distance. |
|
|
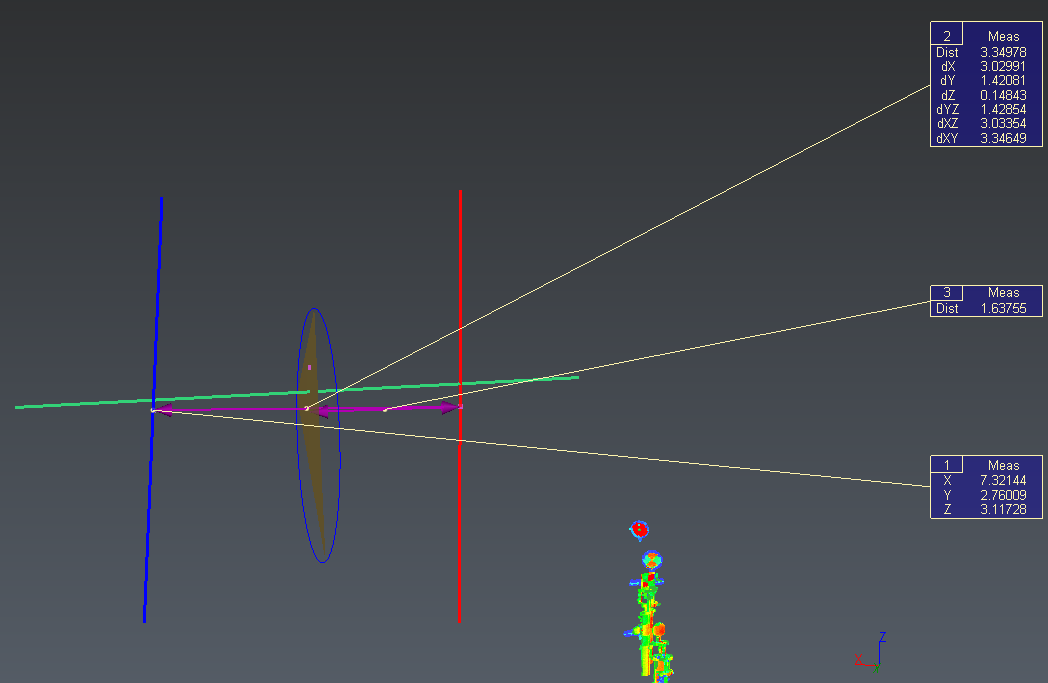
Launch the command Distance Point Plane and select the middle of the red line and the mesh. Click OK, Exit, the command creates a new label (n°3) and display an arrow to show the computed distance. You can also measure the distance between a point and a mesh triangle (Distance Point Triangle). |
|
|
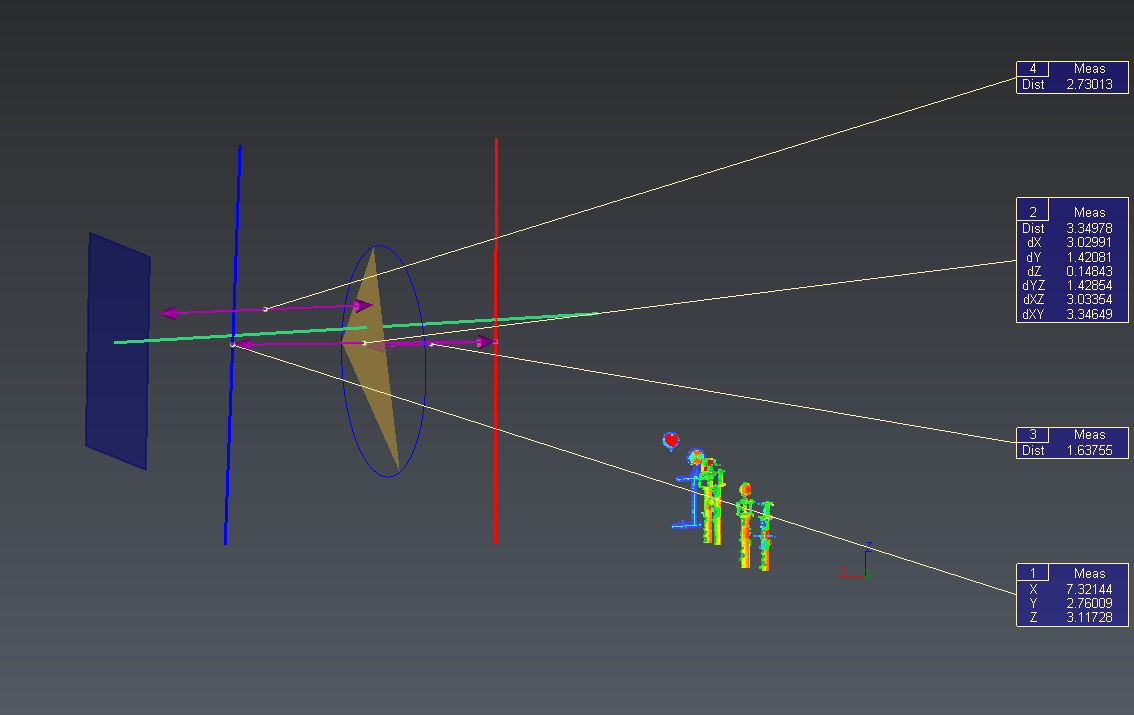
Launch the command Draw Plane and select the three vertices of the mesh. Validate the command. Now select the plane and launch the command Translation, choose X as translation axis and 3 for the length. Validate the command. Launch the command Distance between Planes and click on the created plane and the mesh. The command compute the distance between these two planes. Click OK, Exit, the command creates a new label (n°4) and display an arrow to show the computed distance. |
|
|
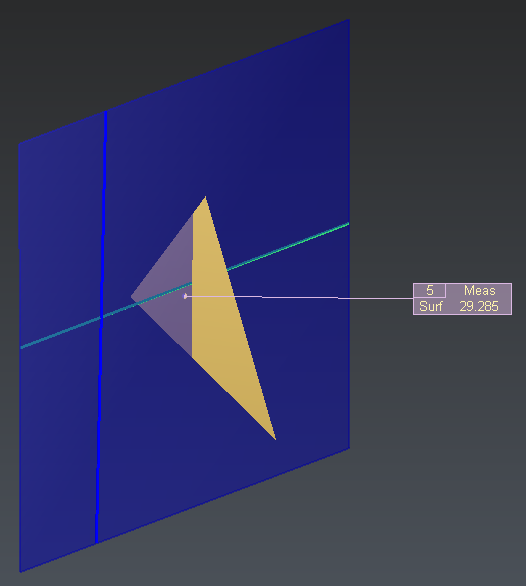
Select the triangle, the blue line and the green one, use right-click on the selection to open the contextual menu and select Show Only. Launch the command Draw Plane again and create by clicking on the extremities of the blue line and the green line. Validate the command. Launch the command Measure Surface and click on the plane, a label with the surface of the plane is created. Click OK, Exit. the command creates a new label (n°5). |
|
|
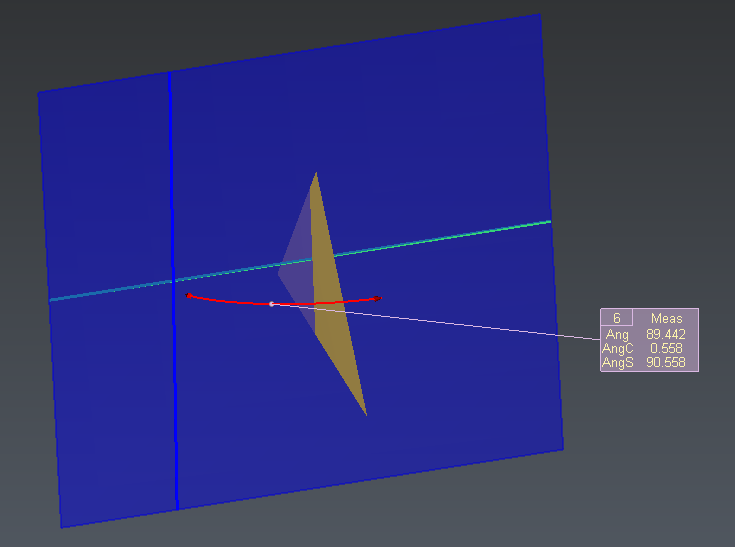
Launch the command Angle between Planes and select the plane and the mesh. Validate. Click OK, Exit, the command creates a new label (n°6) and display an arrow to show the angle. |
|
|
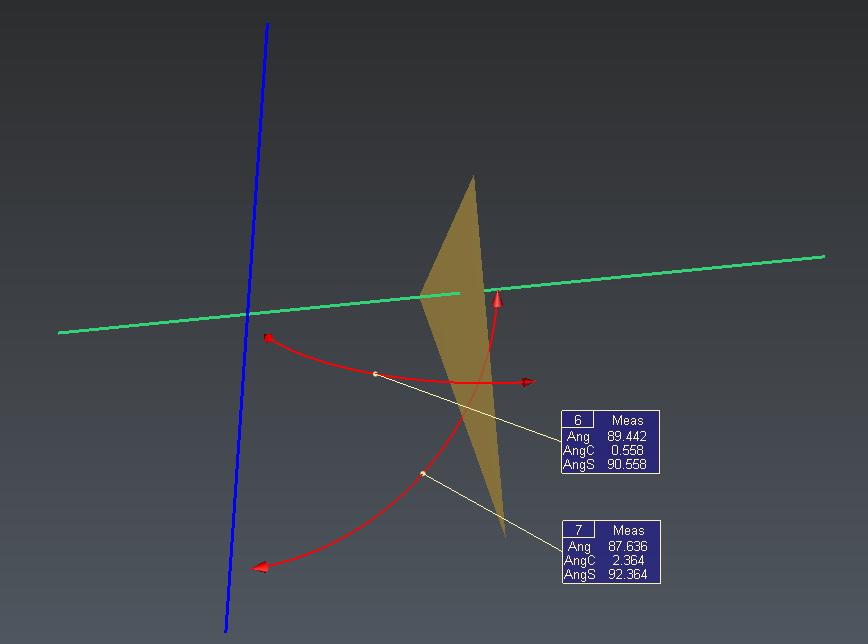
Now hide the plane and launch the command Angle between Lines and select the two visible lines. Click OK, Exit, the command creates a new label (n°7) and display an arrow to show the angle. |
|
|
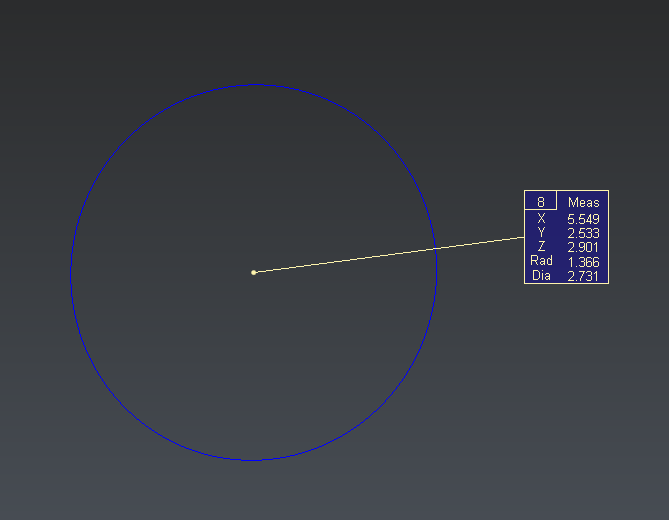
Show only the circle and launch Measure Geometry. As there is no nominal data here, uncheck Add nominal information. Click OK, Exit. The command creates a new label with the circle definition. |
|
Measurement commands
In each command, you can choose data you want to keep in your label by checking/unchecking boxes.
Measurement tool in the toolbar
It is also possible to use tools to quickly make measurement. Thanks to the Measurement toolbar in the top right corner of the scene you can measure distance, angle between planes or angle between line faster, without launching a command in the ribbon.
