Adjust Textures
![]()
This command allows you to manually choose which texture will be selected for each triangle, or to delineate the area where the texture will be applied (see command Estimate Pose).
Requirements
Select a textured mesh and launch the command.
Command
All the Textures of the input mesh are listed and one color is randomly chosen for each of them.
You can change the color with the color button.
You can remove a texture from your mesh with the delete button.
The Current Texture can be displayed for better understanding of the projection.
Show Image to toggle the visibility of the image.
Transparency modifies the opacity of the image to compare with the textures currently applied.
Navigation allows
Go to camera viewpoint, this will bring you to the point of view of the camera.
Navigate to current texture: when this mode is active, camera will follow the camera viewpoint when changing the selected texture.
There is 3 options to Display the mesh.
 Colors: the textures are replaced by solid colors to better visualize overlapping.
 Current Texture: only the selected texture from the list is applied to the mesh.
 Textures: the mesh is rendered with all its textures.
Toolbar
The toolbar contains 4 categories of options;
The selection Tools allow you to choose what kind of shape to use to apply the textures.
 Free Hand tool: hold the left button down and move it on the mesh in order to draw a contour. The triangles inside the contour will be selected.
 Polyline tool: click points to draw a polygon. The triangles inside the contour will be selected. Press Enter to validate.
 Rectangle tool: draw a rectangle either by clicking and dragging or by clicking 3 points (basis and height).
 Circle tool: draw a circle either by clicking the center point and dragging the mouse or by clicking 3 points on the circle itself.
You have 2 different User Viewpoint Filtering options to select triangles according to the user viewpoint (what you can see in the 3D scene).
 Select Through: select all triangles through the mesh.
 Only Visible: only select triangles visible.
You have 3 different Camera Viewpoint Filtering options to select triangles according to the camera viewpoint (what the camera can see from its attitude).
 No Filter: all triangles within the contour are selected for edition.
 Partially Visible: if no vertex of a triangle is visible from the texture, this triangle is filtered out.
 Fully Visible: if all 3 vertices of a triangle are not visible from the texture, this triangle is filtered out.
The Edition mode option:
 Fill: apply the texture to selected triangles not yet textured.
 Update: to apply the current texture selected to selected triangles.
 Remove Current Texture: remove only the current texture to selected triangles.
 Remove All Texture: remove texture to selected triangles.
Notes
Current texture and Camera Viewpoint Filtering options are only available on texture defined by a camera model (see Standard Texture).
Toolbar: a message will be displayed if no triangles are selected or if the texture cannot be applied.
Technical information
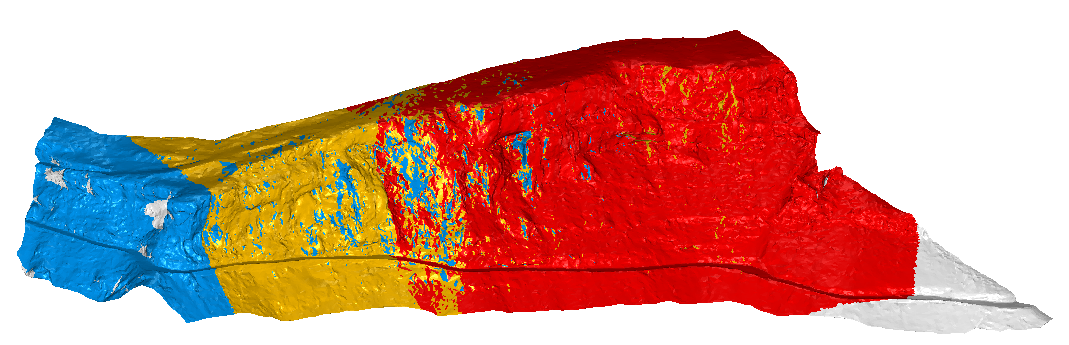 Fig. Sample with the file "TextureParam&CameraPath.rsh"