Exercise: Create an as built map of an electric network extension
In this exercise, you will create a map to record the as built position of an electric network.
Open the file ElectricTrench.3dr and launch the command Virtual Surveyor.
Define the settings
Click the Settings button then load the layers and the features codes (Layers_list.txt and FC_list.txt).
Optionally, you can add the layer Lighting and another code with Point as Geometry type and save again both files.
 Add another layers and feature codes: position of lightings
Draw the map
Activate the polyline tool and draw the buildings:
set the Next feature code to BU_start for the first point,
then use the drop-down to change the code to BU_cont,
validate each polyline with ENTER.
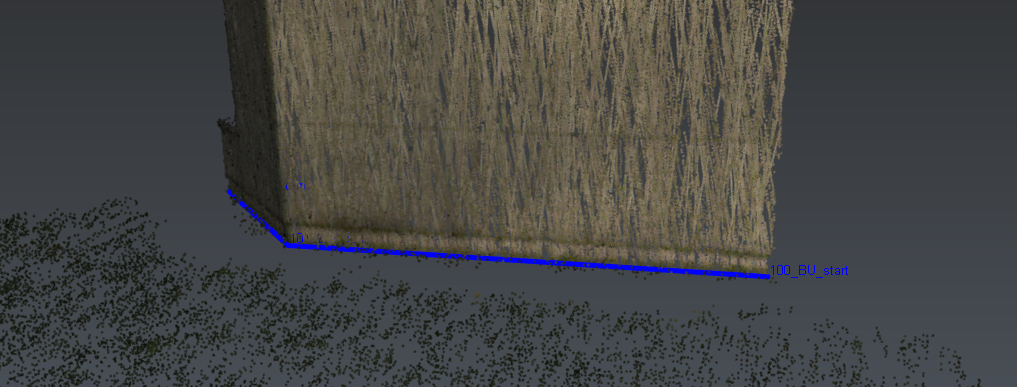 Start drawing the map: buidling
In case of error, deactivate the polyline tool and use the Objects list in the Virtual Surveyor dialog box to change the feature code, remove the feature or modify the feature vertices (Edit).
Continue with the fence, the curbs and the markings. You should use the most suitable snapping options Highest, Lowest, Ground and Vertex/End for instance.
Activate the point tool and draw a point at the center of the sewage manhole, of the trees and of the disabled symbols. For such points, you should activate the Ground snapping.
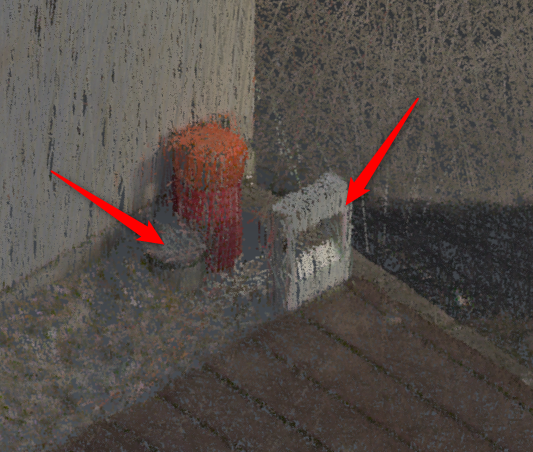
Now, focus on the electric network which has been created recently:
Filter layers to keep only Electricity: only the feature codes matching the layer Electricity will be proposed.
Draw the trench borders, the new concrete slab, the new concrete manhole and the sheaths extremities.
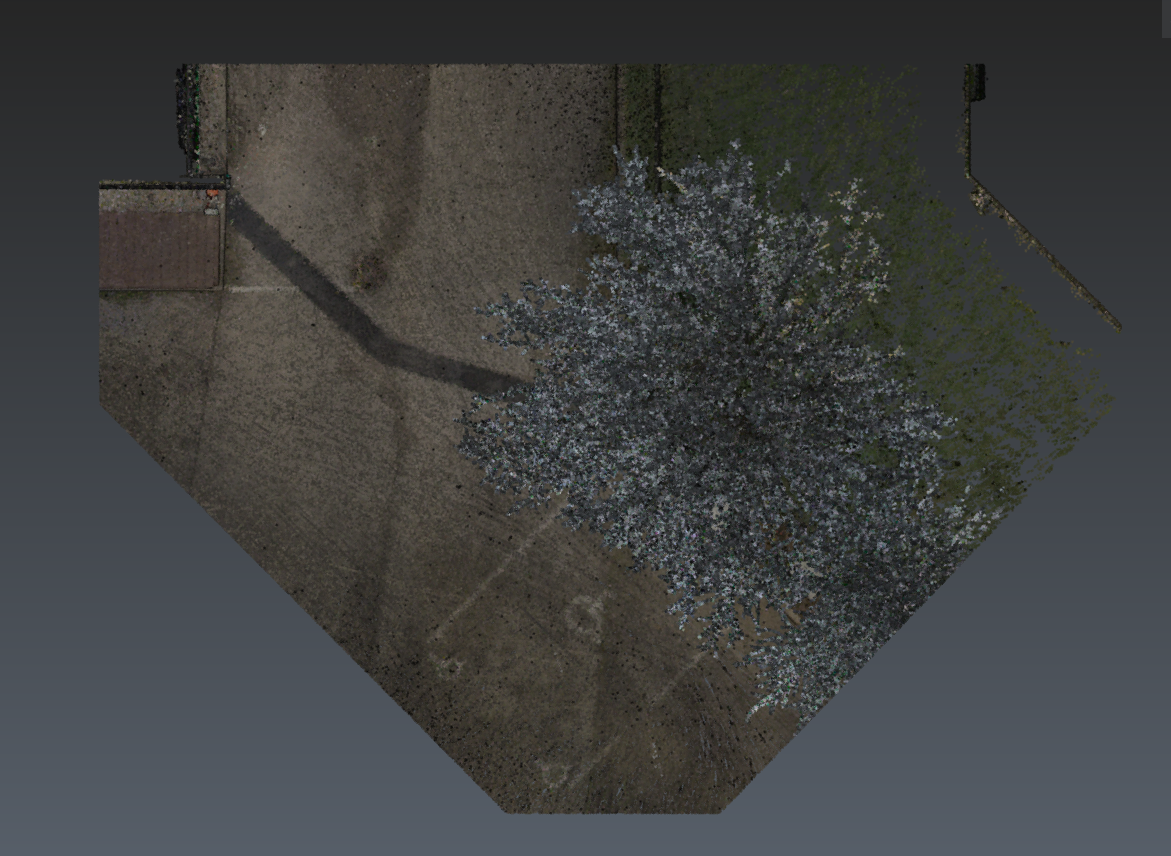 Top view (point cloud)
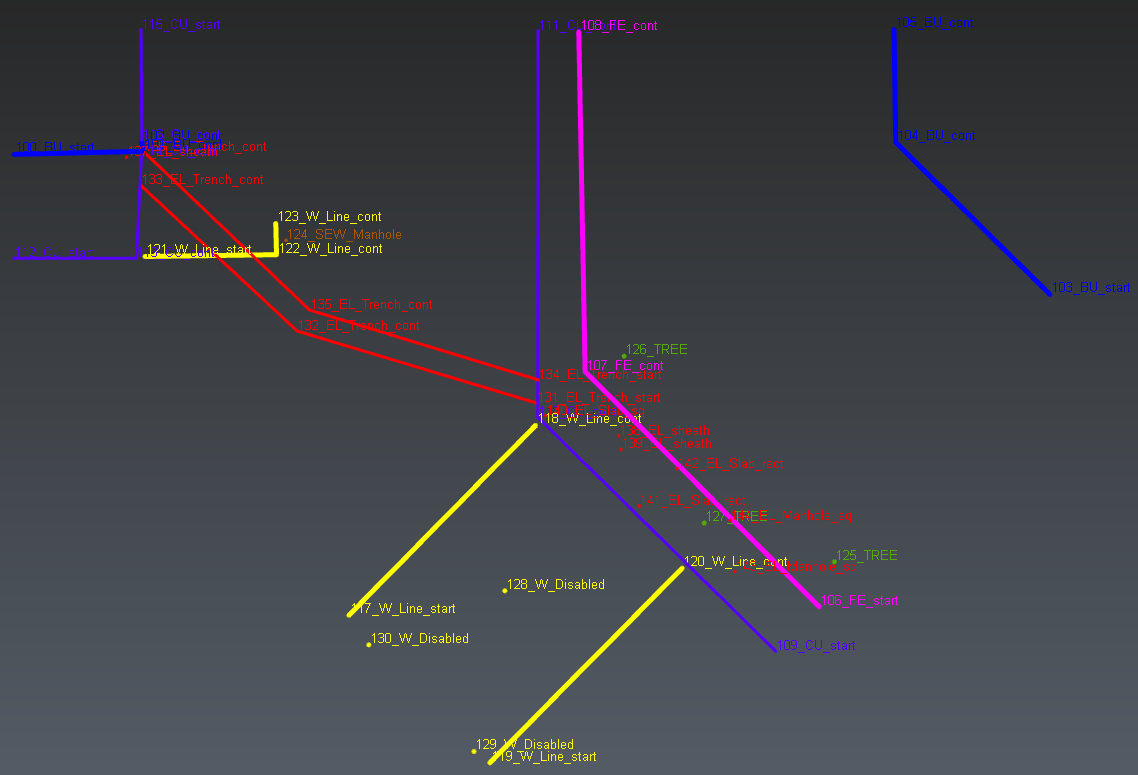 Top view (map)
Export
Finally, Export the result to TXT using the option Points only. This file can be post-processed by your CAD Software (if you use the same feature codes).
Otherwise, you can Export the DXF or Send To the result.