Options panel
Specific options are available in Options panel when you have selected an image, a scene or a table.
|
|
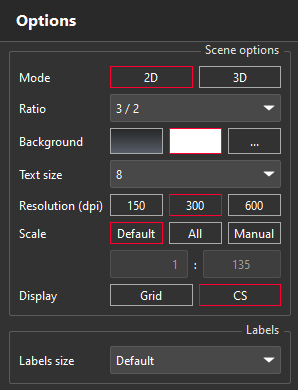
2D Scene options:
|
|
|
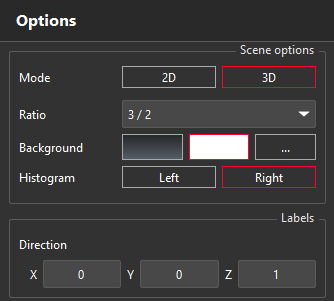
Additional options for 3D Scenes:
|
|
|
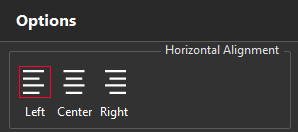
Image options:
The cell width has to be defined in the Template View (drag and drop a vertical border). |
|
|
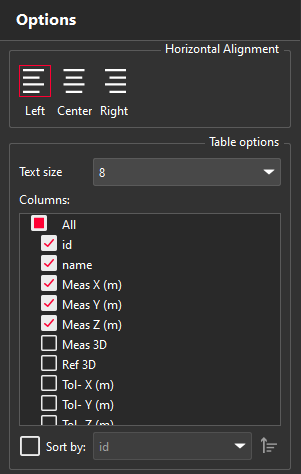
Table options:
You can sort out:
|
|
|
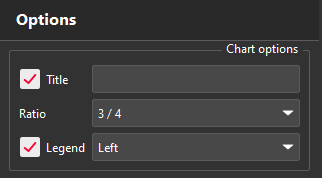
Pie chart options:
|