Exercise: Scan to Mesh
The goal of this exercise is to create a textured mesh from a cloud in one step with predefined settings.
The Scan-to-Mesh feature has been designed mainly for Leica Geosystems scanners but can be obviously used for any kind of point clouds.
The main interest of this feature is to straightforwardly give realistic models; especially for indoor applications like buildings or plants.
Open the file Fountain.3dr.
Select the cloud and launch Scan to Mesh.
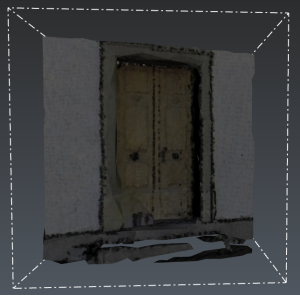
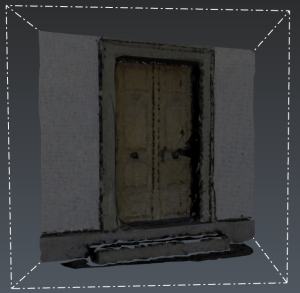
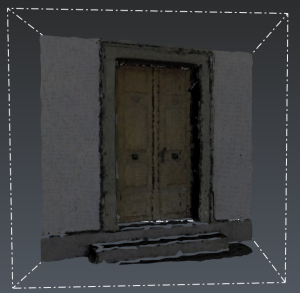
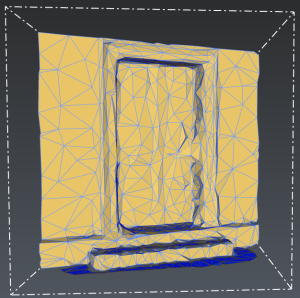
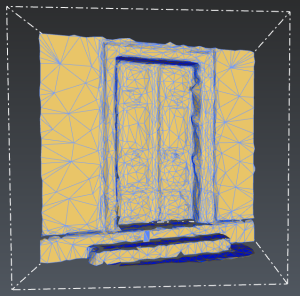
Activate the Evaluation mode and click on the church side door. A small temporary mesh is created where you clicked, allowing you to get a preview without computing the whole mesh.
This sample is regenerated after each setting change. If necessary, press DEL to remove the current evaluation box and sample another part of the scan.
|
|
BLK2GO (Level of details: Low) |
BLK360 (Level of details: Medium) |
RTC360 (Level of details: High) |
|
With texture |
|
|
|
|
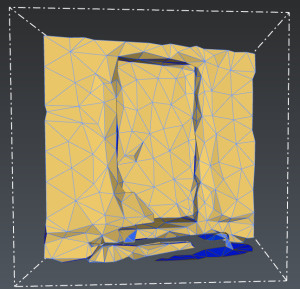
Without texture (Flat + Wire representation mode) |
|
|
|
The evaluation mode is suitable to tune the mesh according to your needs and the computation time to spend.
Here, you can use the presets, or define your own custom mode.
Keep the option "Ignore scanning directions" unchecked.
By default, a texture is created using the point cloud real color.
When your settings are fine, deactivate the Evaluation mode and click Preview: the cloud will be meshed and textured.
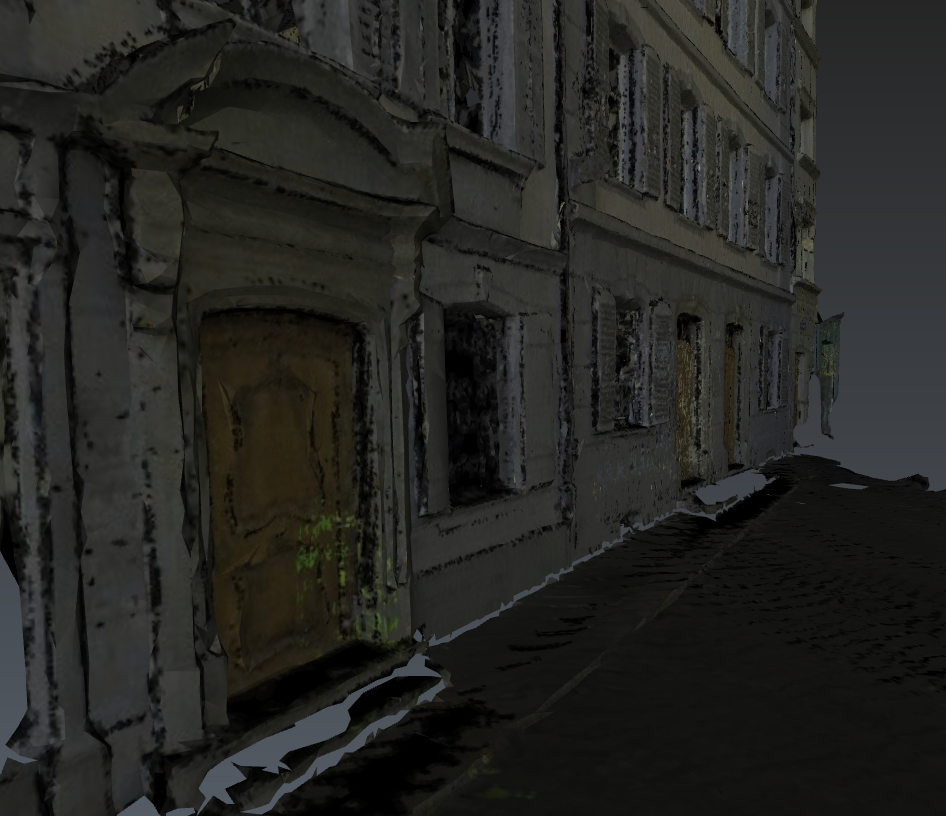 medium result
Using the preset corresponding to the scanner used will generally make the best mesh out of the point cloud.
Notes
To enable the meshing of large datasets, the computation will be split in overlapping boxes: you can edit the box size in advanced settings.
Moving objects are filtered by the same mechanism as the command Moving Objects. The scanning directions option may impact the result of the Moving objects filter (if this information is available in the cloud).
