Create a Tank Inspection Report
At the end of the workflow, all the results computed during the previous inspections can be included in one single PDF report or exported in a CSV file.
Without selecting anything, launch Report menu. A default report, with all available contents, is automatically created. First, define the main layout options in Layout panel. For instance, choose an A4 Portrait layout.
Then, you can remove some chapters and complete the report as you want. You can:
Give a title to the project and to chapters.
Enter the name of your customer and of your company.
Insert the logo of both companies or any other image.
Add and modify texts. You can drag and drop automatic fields from the Data panel.
Add a global view as a 2D or a 3D scene.
Edit all the views (or specific ones) inside a dataset. For example, you may increase the scale for a specific section, by clicking on
 in the corresponding section and changing the scale.
Apply another template to a chapter. Note you can save the current chapter as a new template for next tank inspections.
Sort out the chapters.
...
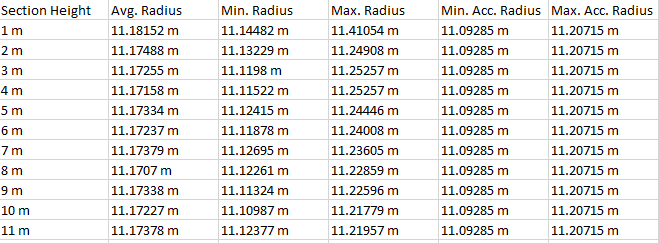
Some results can also be exported in CSV files using the Data panel. For instance, the results computed during the differential settlements, the verticality and the roundness. Use the export icon
, or To CSV, to export a table into a .csv file.
 Figure 1: csv export
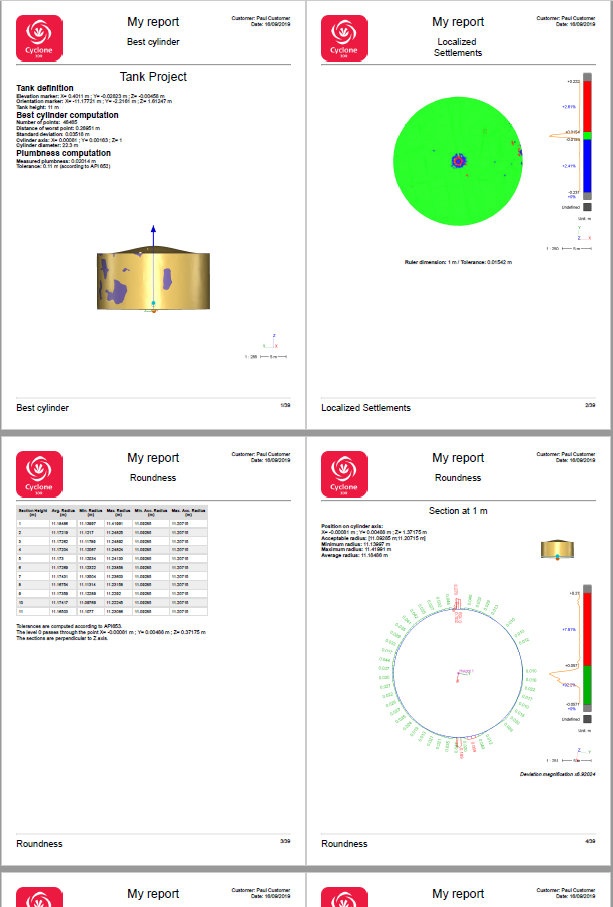
Click To PDF to generate the report. This can take a few seconds especially in case of inserted 3D pdf.
 Figure 2: report example