Exercise: Clean a LGSx cloud
The file used for this exercise is CloneLGSx.lgsx. The file contains the scan of a hallway with 3 setups.
In this exercise, we will update the cloud content of a LGSx file.
The steps will be as follows:
Import the LGSx file and converting the desired area
Use Distance from Scanners and Auto Classification commands to clean the cloud.
Finaly, use Clone LGSx to update the cloud and keep the information associated with the LGSx file.
Import the LGSx file
Create a new document,
From the File menu, go to the Import entry and import the file from the file explorer. Once the file has been selected, the Import LGSx command will open.
Since we are going to update the file, select Import LGSx in the Import Mode group to keep it associated with the project.
Click Import to open it.
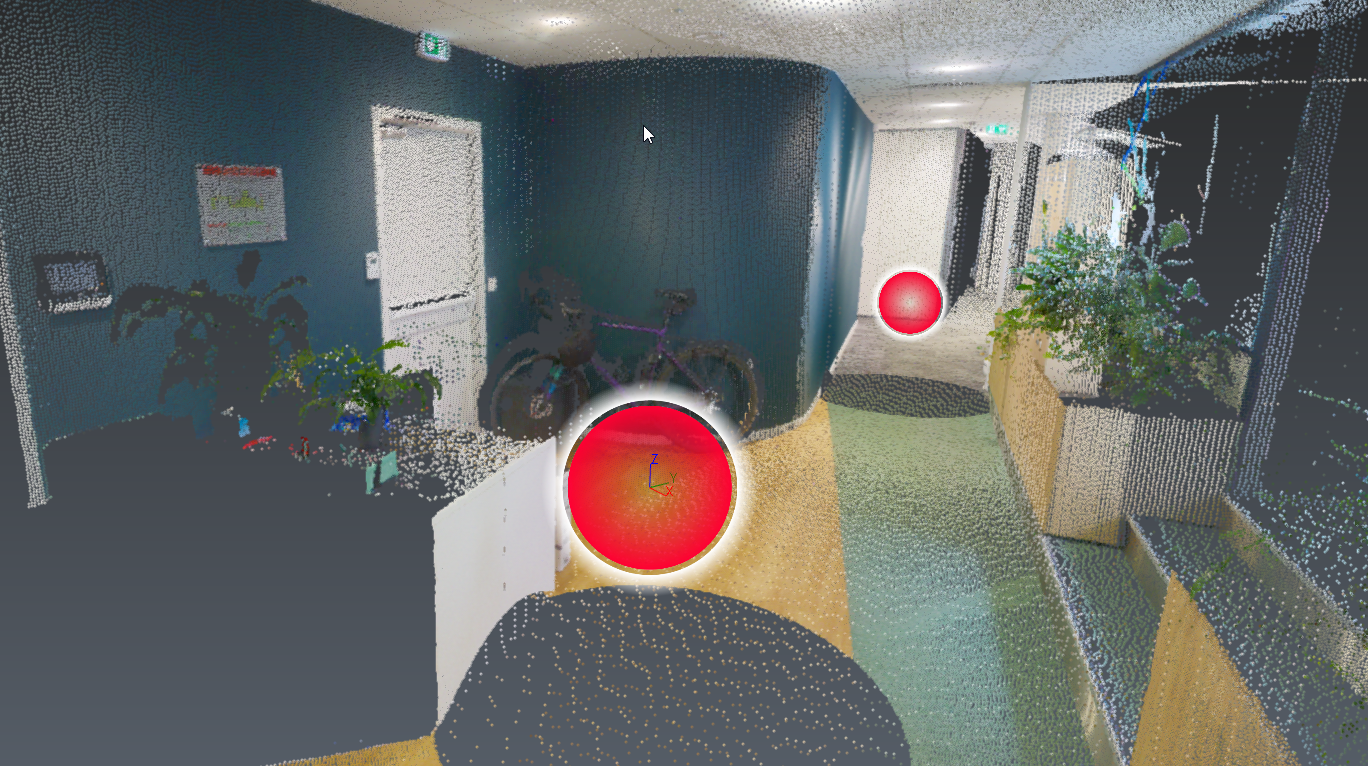 Scan overview
If you don't see the positions, you can click on Show Hide positions in the Image Navigation Toolbar to display them, or press SHIFT+S.
Convert the CloudWorx cloud to a standard cloud
Launch Convert Project.
Enter a value of 2 millions for the Maximum number of points value.
Import the intensities.
It is not necessary to process and import images.
A new cloud has been created and the original cloud is hidden. From now, we will work on the created cloud.
Cleaning the cloud using Distance from Scanners
Select the cloud and launch Distance from Scanner.
For the range, select a minimum value of 0 m and a maximum value of 5 m.
Keep only the inside range clouds
Click OK to validate.
Cleaning the cloud using Auto Classification and Separate by Attributes
Now that we removed the furthest points, we will use Auto Classification and Separate by Attributes to keep only the most important parts.
This step is optional: you can go to the next section if your computer doesn't meet classification requirements.
Select the cloud and launch Auto Classification.
Select the Indoor model and click OK.
Select the cloud again and launch Separate by Attributes.
Select Classification as attribute, and click Preview. You will see all classes present in the cloud.
Keep only the most meaningful classes: Wall, Ceiling, Floor, Door, Window, Stairs and delete the others.
Group the resulting clouds, then click OK to validate.
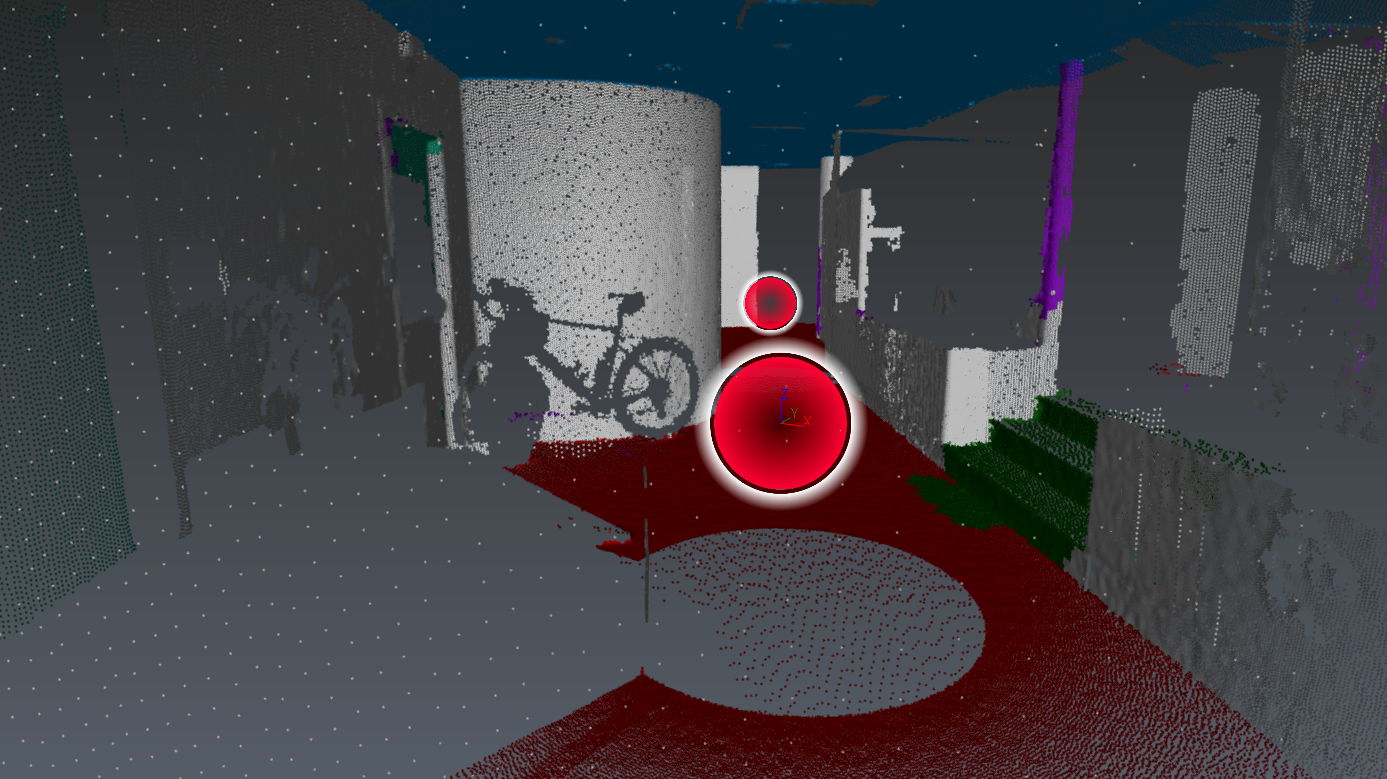 Some classes have been removed
Clone LGSx
Now that we have cleaned the cloud, we can use it to update the content of CloneLGSx.lgsx.
Select the cleaned cloud, and launch Clone LGSx.
In the Inputs, you can see the original cloud (that is why it is important to import it instead of a direct conversion) and the cloud that we worked on.
In the Outputs, you can see that we added the classification and that we still have the 3 stations.
By separating the setups, it would also be possible to remove entirely a setup (take a look at the Scan Stations command)Click Clone and in the explorer select where you want to save it. A new LGSx file has been created with the new cloud.
Finally, you can import this new LGSx file, including images, in a new project to check that:
you still have 3 stations,
you have the Classification by choosing the Classification Representation,
all original images are preserved.