
This command allows you to add a 3D text on a model.
Select a mesh and launch the command.
|
|
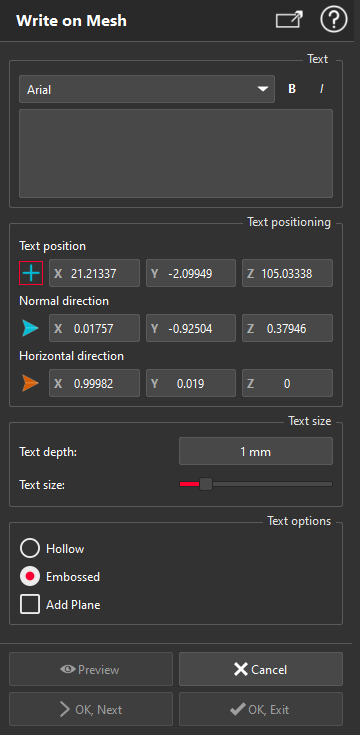
Write your text in the dedicated area. Then, you can change the font and the text style (bold or italic). The text to engrave is automatically modified in the 3D scene.
Set the text position (bottom left corner) according to Define points
Position the text using direction tools
Set the Normal direction of the text (the view direction, by default)
Set the Horizontal direction of the text (perpendicular to the view direction, by default)
Use the Text size options to set the size and the depth (height from the clicked point or from the added plane) of the text.
Use the Text options to define the engraving mode. You also have the possibility to choose the "Add Plane" option to engrave the text on a plane instead of using the surface of the model.
Press Preview to display the engraved text, OK, Next to continue, Ok, Exit to validate or Cancel to exit.
Fonts to be used
It is recommended to use standard fonts such as Arial. Excessively stylized fonts may work, but some of them may cause errors during the engraving.
|
Text Option
|
Hollow Text: The text is engraved inside of the model.
|

|
|
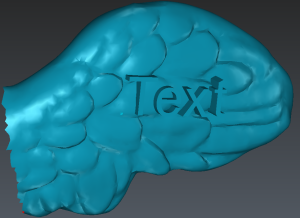
Embossed Text: The text is engraved outside of the model.
|
|