Measure Deviation
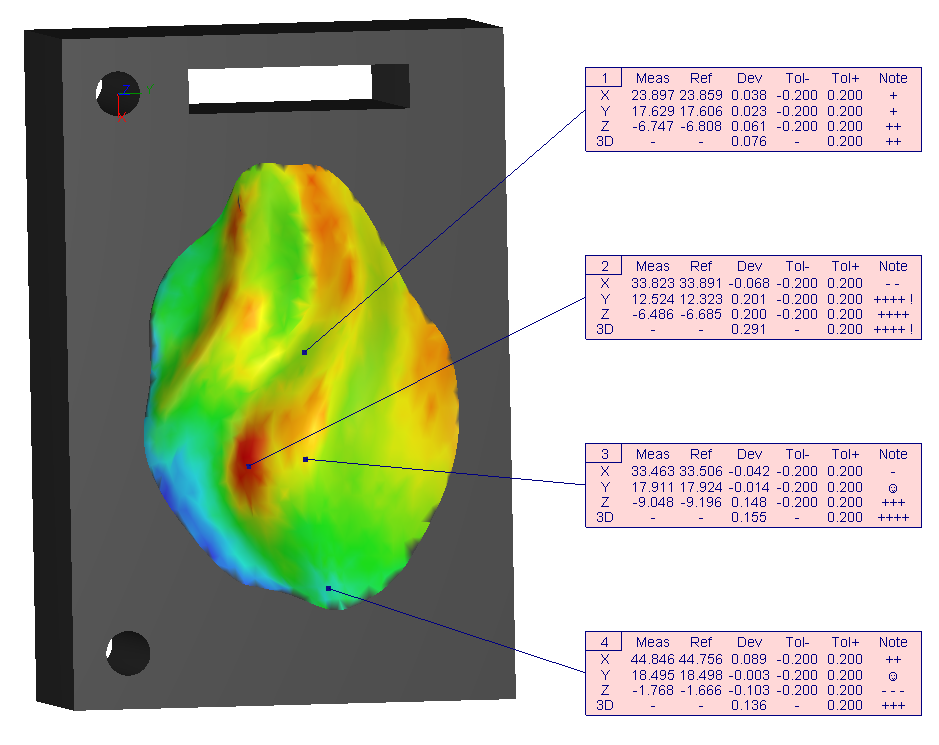
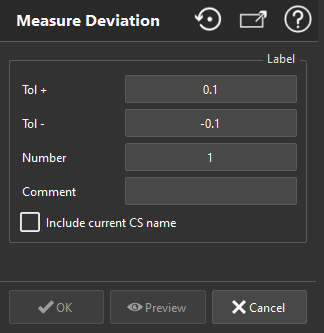
This command creates new labels on object with intensities or deviations. Such labels are generally used after inspection to prepare an inspection report.
To create a new label, launch the command and click in the 3D scene on an object.
|
|
|
Information about labels

The number of "+" or "-" sign depends on position of measurement inside the tolerance:
+ The distance between reference and measurement is between 0 and 25% of the high tolerance.
++ The distance between reference and measurement is between 25 and 50% of the high tolerance.
+++ The distance between reference and measurement is between 50 and 75% of the high tolerance.
++++ The distance between reference and measurement is between 75 and 100% of the high tolerance.
++++! The distance between reference and measurement is out of the high tolerance. In this case the character string is displayed with a red color.
- The distance between reference and measurement is between 0 and 25% of the low tolerance.
-- The distance between reference and measurement is between 25 and 50% of the low tolerance.
--- The distance between reference and measurement is between 50 and 75% of the low tolerance.
---- The distance between reference and measurement is between 75 and 100% of the low tolerance.
----! The distance between reference and measurement is out of the low tolerance. In this case the character string is displayed with a blue-cyan color.
 The distance is very close to 0.
