Exercise: Quick mesh from scanning
The goal of this exercise is to create a mesh in one step with automatic settings after measuring with the RDS utility software.
The corresponding files and scripts are available on our Github script repository (MeshWizard): Cyclone 3DR GitHub repository (library of advanced script samples)
Open the file RDS_Meshing_Option.3dr.
Select the cloud and launch one of the three scripts Mesh Wizard, that you can add as favorite in File/settings/Favorite Scripts; then try to see the result for each option as shown below.
|
Precise (MeshWizard-slow.js) |
Normal (MeshWizard-normal.js) |
Fast and smoothed (MeshWizard-fast.js) |
|
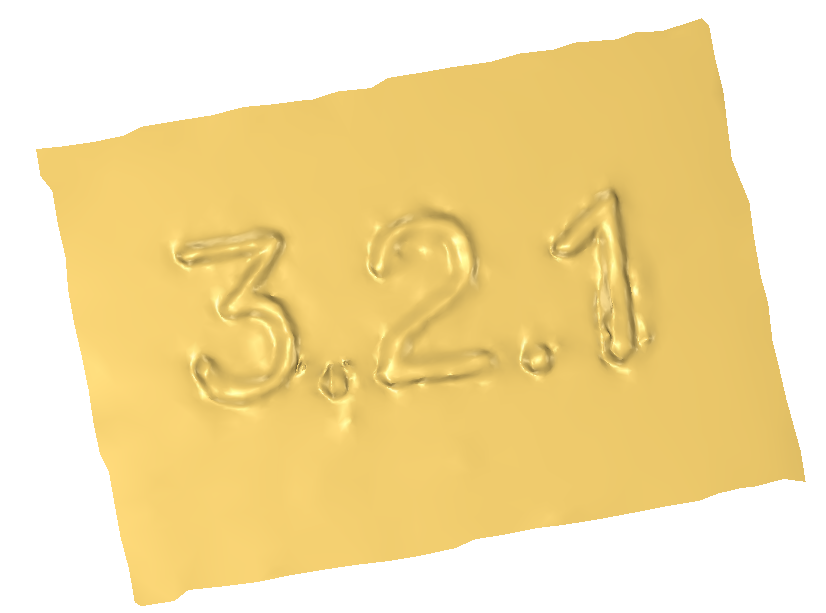
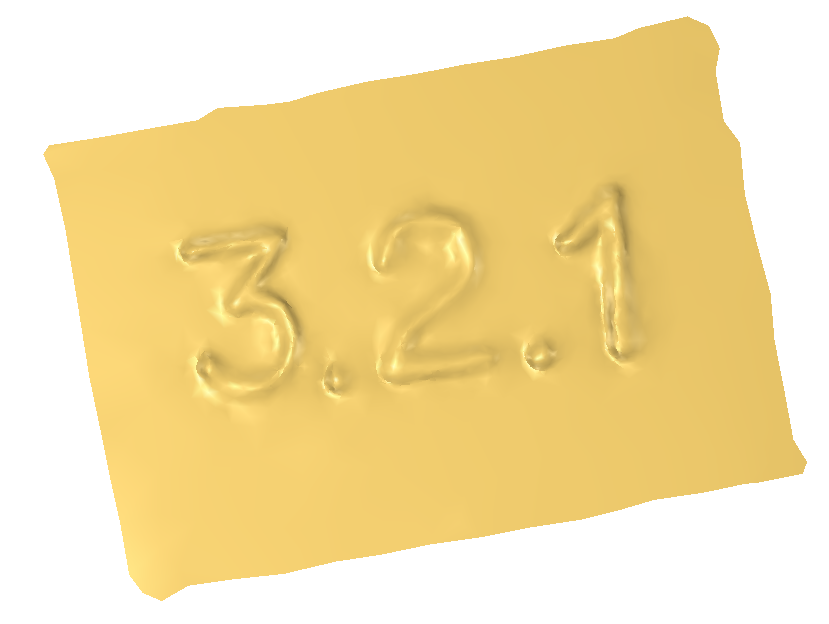
This setting will show you all details. Edges will be sharper also: more small triangles on detailed zones. In the example below we got 13578 triangles. Be careful if your scanner is not well calibrated or if you have some bad measurement in your cloud because the measurement errors may be interpreted as details in the resulting model. Measurement error, inaccuracies or badly calibrated scanner will give you undulations in the model. Make sure to clean your cloud before running the RDS meshing script. |
This setting is often a good compromise between the two other options. In the example below we got 3985 triangles. All details on your mesh have an average resolution, the surfaces are smoother than the slow and detailed option. |
With this setting, your mesh will be smoothed even in the detailed areas. When using a low accuracy or badly calibrated scanner, this option will give you the lightest and smoothed result. (47 triangles in the example below). |
|
|
|
|


