Open the file
Open the file Fountain.3dr.
The file contains the point cloud of a part of a city, with building frontages, vehicles and people. We will use manual classification tools to classify the points.
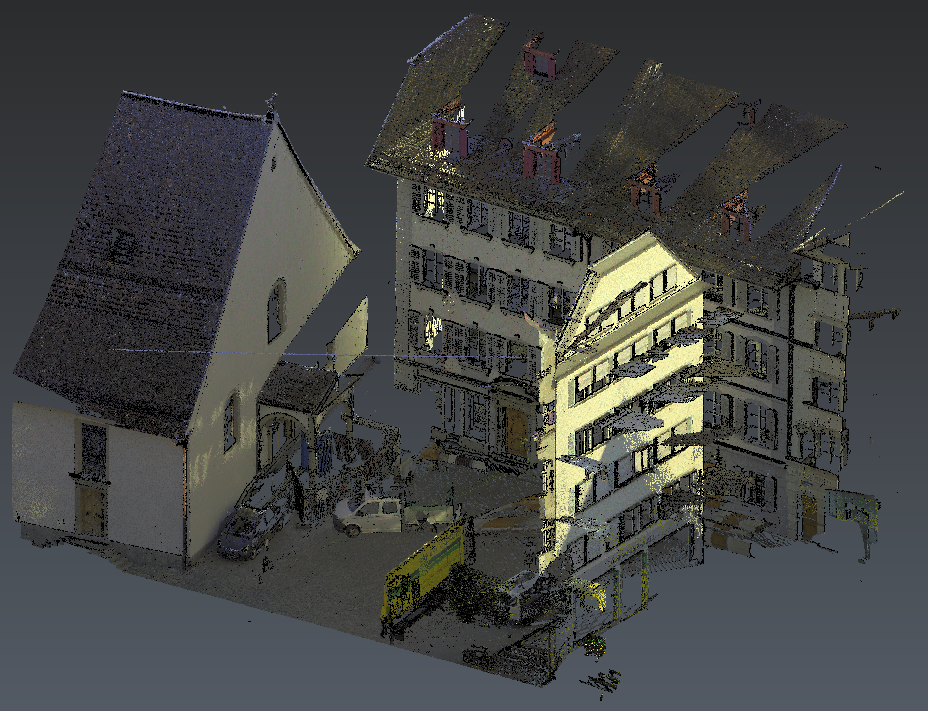 The scan of a city
The toolset resembles the one from Clean / Separate. The principle is close: instead of splitting cloud(s) in parts, it associates each point with a class.
This cloud has no classification data, so the Classification representation is not available yet.
Select the cloud and go to Manual Classification.
All points are classified as Created, never classified for now, and are displayed in dark gray. Start by selecting the main part of the church.
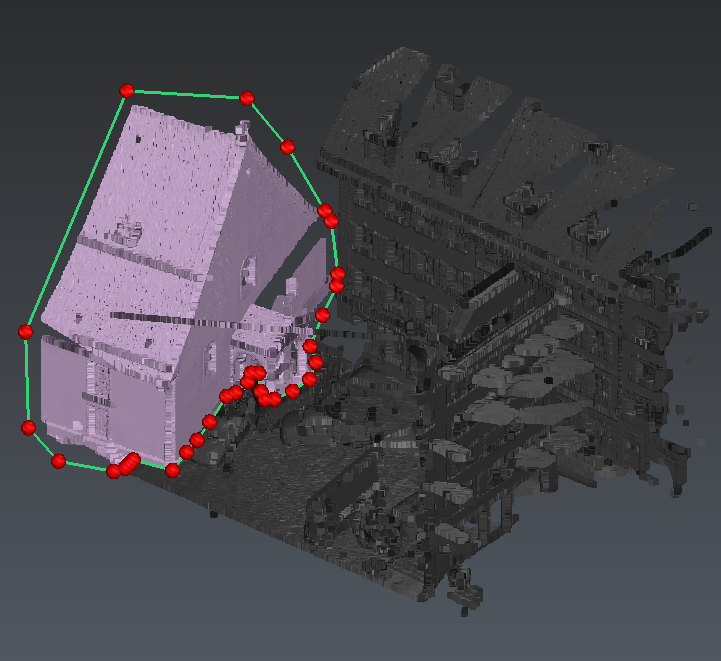 Select points to classify them
Just like in Clean / Separate, you can change the depth of the polygonal selection to take only a part of the selection. Then, you will probably have to refine the selection.
For instance, you can remove the wire from the selection.
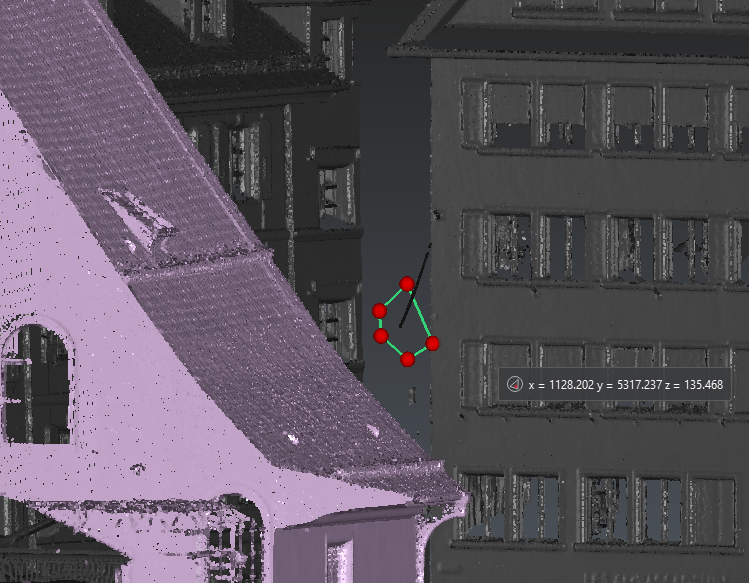 Remove the wire from the selection
Click Add in Class and select 6 - Building from the list. Selected points are now colored in light grey.
You can hide the classes already used for a better visibility of Created, never classified points. You can also lock them to avoid inappropriate selection.
Select the other frontages, assert the active class is Building and click Add in Active Class.
Some points are probably still floating in the air. You should identify two wires. Add them to the class 14 (Wire - Conductor).
Next to the right building, there is a tree to classify in 5 (High Vegetation).
To help in the classification, you can temporarily switch the representation of the Created, Never classified points to Real Color by clicking on the disk icon.Select the road sign, also next to the right building. There is no default class for it: let's make one.
Click Edit Classes,
Double-click on one of the custom ones, for example 255,
Edit its name Road Sign, color and mark it as favorite (click on the star icon). Click OK to exit the settings dialog.
Now click Add in Class: your custom class is on top of the list, select it.
Select the ground and add it to 2 (Ground).
Cars, bicycle, people and the fence (next to the church entrance) can be added to 65 (Artifact).
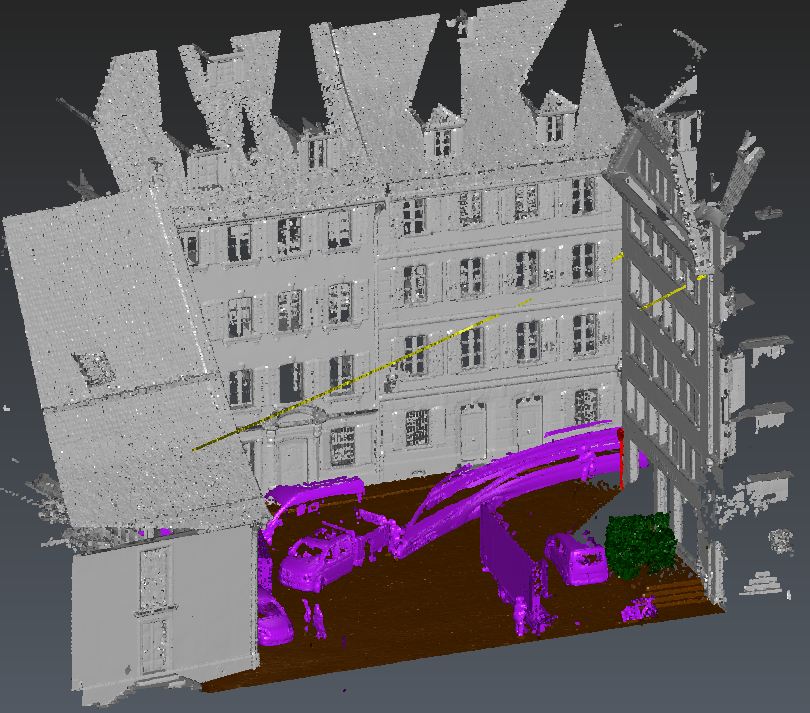 Result
Now, you have classified your cloud, you can use Explode By Class to make each class become a separate cloud, making it easier to mesh buildings or the ground separately. Or simply to avoid meshing scanning artifacts.
Later, exploded clouds can be merged without loss of class information.