Exercise: Create a video with a camera path
Open the file TextureParam&CameraPath.3dr
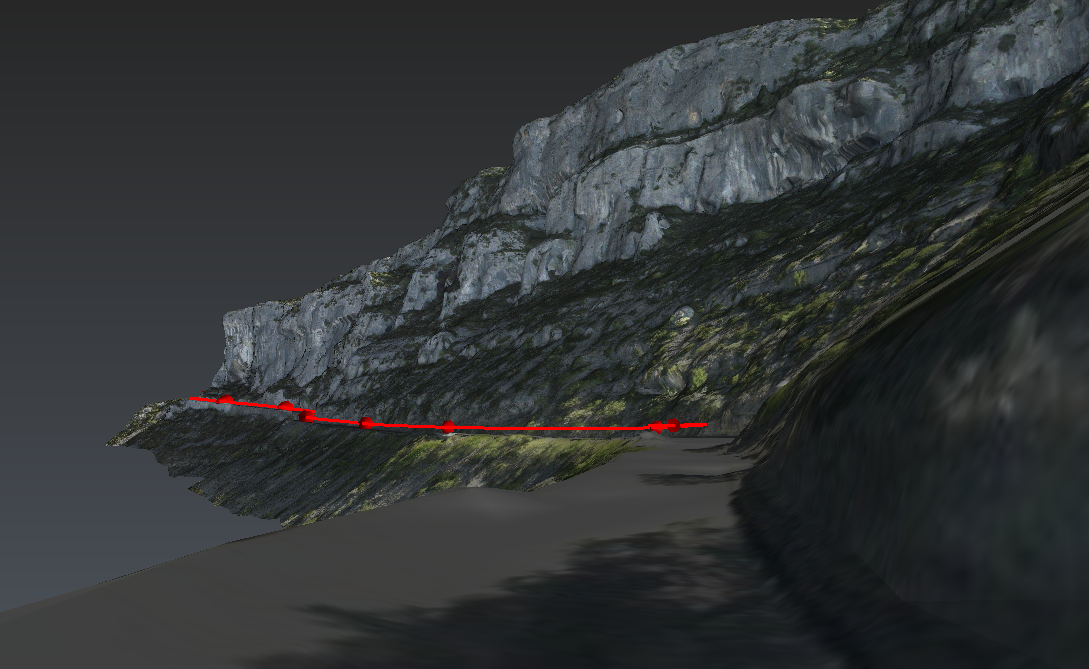
This file contains a textured mesh of a cliff, also used for the texturing exercises.
First, it is important to check the direction of the polyline because, by default, the camera orientation will follow the camera path selected. You can right click on the polyline and check Reverse to reverse its direction if needed. Note that polylines are represented with arrows thanks to a parameter available through the colored disk in the tree view. Then, use a perspective mode, select the polyline Camera path and launch the command Camera Path.
First, you can setup the options for the animation. The option Smooth the camera path is automatically check to smooth the polyline selected and have a fluid video. You can choose to display or not the camera path during the animation. You can also choose to play the video in loop if the polyline is closed (back and forth if the polyline is open).
Optionally, you can set the up vector of the camera by setting the view in the good orientation and clicking on Use current. For example, to set the up vector as the Z axis, click in the scene with your mouse and press the key X or the key Y to have the Z axis perfectly vertical, and then click Use current to set the up vector of the camera.
By default, Z is always the Up vector so you should not have to change this option, except in specific cases.
 Virtual visit thanks to a camera path
During the animation, it is possible to add specific targets for the camera, at specific moments. To do that, move the slider when you want the camera to look at a specific point. Then click Add/Edit and click the point in the scene. Click again Add/Edit and then click on a new point to replace the target. Or click Add/Edit and then Backspace on keyboard to delete the target point created previously.
If you click on only one target, the camera will stay focus on it. You can click on the polyline to orient the camera along the path again. If you want to use the same target than the previous one, click Add/Edit and press the key Enter.
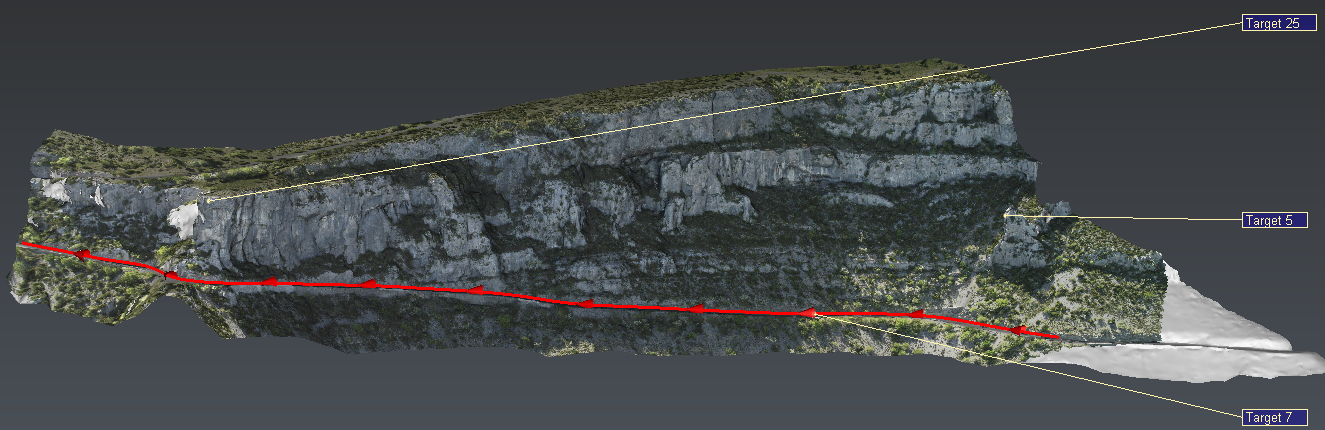 Set several targets during the animation
To move forward or backward in the animation, use the slider or the buttons with the arrows. One arrow means one second forward or backward the current time. Buttons with two arrows allow you to go to the next or the previous target added.
If the focus is on the 3D scene, you can press the key Space to switch between the camera view and a view in which you can see an object representing the camera moving along the path (free fly mode).
You can preview the video with the button ![]() . To record it, press the button
. To record it, press the button ![]() . It will be recorded as an AVI or MP4 file.
. It will be recorded as an AVI or MP4 file.
See the Help files of the Camera Path for more details about keyboard shortcuts.