Exercise: Remove or separate a part of the cloud
Open the file
Open the file CleanWithObject.3dr.
The file contains the point cloud of a tunnel. To make an inspection of the tunnel, we need to keep only the points from the vault. We can use three different tools to split a cloud into several parts and separate the vault from the rest of the points.
Draw a polygon
Select the point cloud Tunnel and go to Clean / Separate.
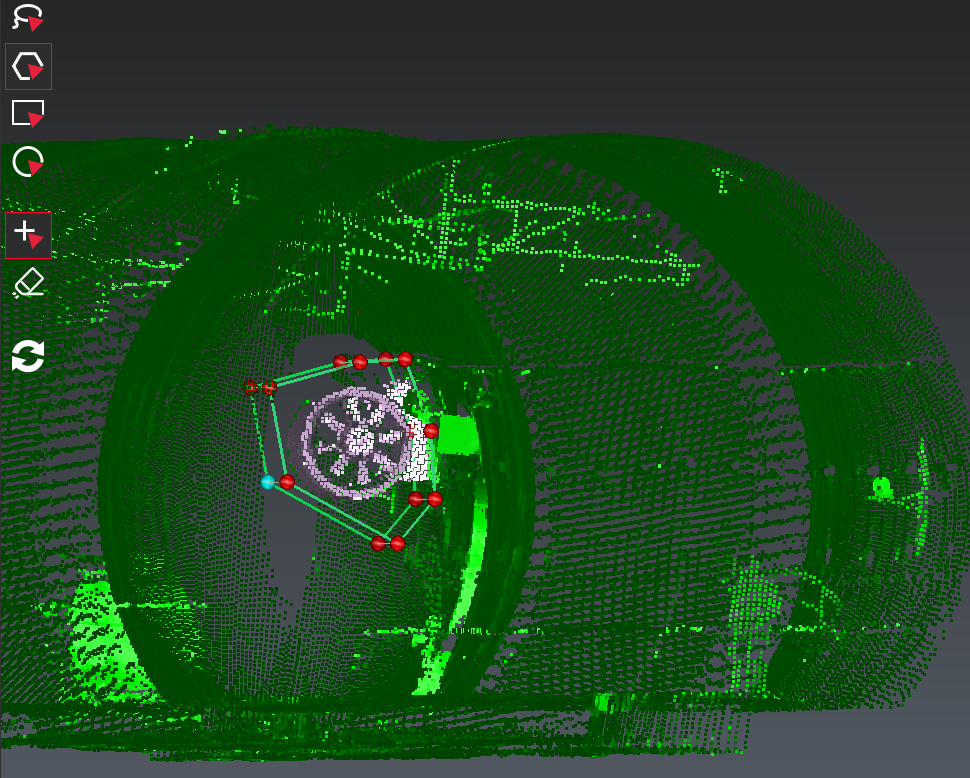
Orient the view (you may need the ALT key to slow down the rotation), draw a polygon around the points you want to select and press Enter to validate the selection. While drawing the polygon, you can cancel the last point clicked with the keys Del or Backspace on the keyboard.
The points in the selection are highlighted. Now you can rotate the view and move a ball in order to stretch the contour. When you move a point, it remains in the same plane. Drag and drop the contour or press Shift while moving the ball in order to create a selection box around the points. Click on the bin icon to delete the selected points. Repeat the action on all the other big areas and validate with OK.
 Remove a part of the cloud by drawing a polygon
Use an object
Right click on the cloud “Copy Tunnel” and click Show only to begin the second part of the exercise. The file also contains a cylinder, which is the best cylinder extracted from the point cloud of the tunnel. Display it in the scene.
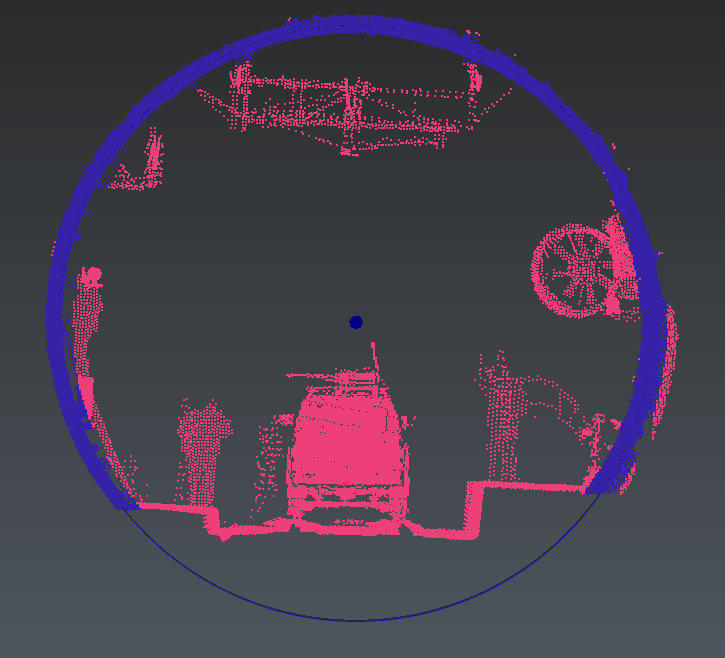
Select the cloud “Copy Tunnel” and the cylinder and go to Separate according Distance.
Set the Distance threshold to 0.2m. Press Preview to preview the result. All the points located at a distance smaller than 0.2 meter from the cylinder are highlighted in a different color.
You can uncheck the option Points far from the object to directly delete the points farther than the given distance, or check both options to divide the cloud in two sub clouds.
 Separate a cloud with an object
Use colors
It is possible to split a point cloud by coloring it along a direction and then explode it depending on the colors. We are going to divide the tunnel into four independent parts.
First, we color the point cloud along the central axis of the cylinder used previously.
Display the polyline called “Central axis” in the scene.
Select the point cloud of the tunnel and go to Along Direction.
Choose the direction of a component (
 ) and click on the central axis. An arrow is displayed in the scene to represent the direction.
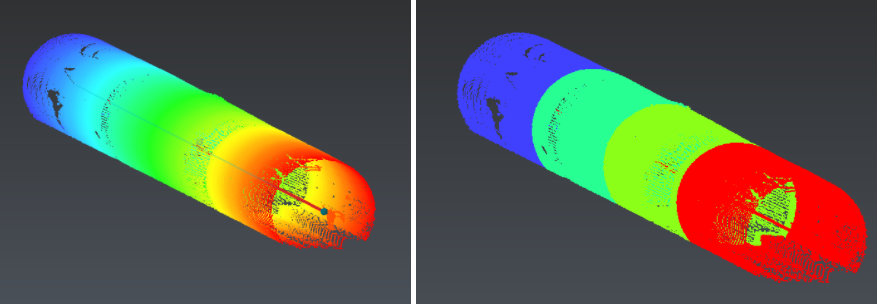
When you click on Preview, the point cloud is colored along this direction with a color gradient.
Click on Edit color to modify the colors.
In the upper part of the dialog box, in Presets, choose the Regular Steps preset and set the Number of steps to 4 and Click OK.
Click OK to validate the color map.
Click OK again to validate the colored cloud.
 Color a point cloud along a direction
Now we can explode the point cloud according to the colors we have just set.
Select the point cloud and go to Inspection Steps.
The four sub clouds are added into the Measure Group and you can work on each one separately.