Edit Limit Object

![]()
This command allows to modify the limit plane (or slice) properties, such as:
its name
its position
its orientation
the depth of the slice
the step of displacement (with the mouse wheel)
the scenes where the limit plane is active
the components associated with the limit plane (define the behavior of the limit plane)
Requirements
Double-click on an existing limit plane (in the 3D scene or in the tree) to launch the command.
Position: the plan moves to the new point position. To do this, click a point in the 3D scene. The coordinates are updated in the XYZ fields. You can also change them manually.
Orientation: the direction will change to the new defined one.
Depth: define the depth of the limit plane (= distance between the first and the second plane).
Step: define the step of each mouse wheel step, or when dragging the plane in the 'mouse tool' mode. By default, 'auto' is checked. The auto mode defines a step according to the zoom factor of the 3D scene.
Activation: as many checkboxes as 3D scenes are displayed, which allows to select the scene(s) in which the limit plane is activated.
Association mode: A limit plane could be associated to all the components of a scene, or only to a specific list (defined by the user).
Editing a limit plane
|
|
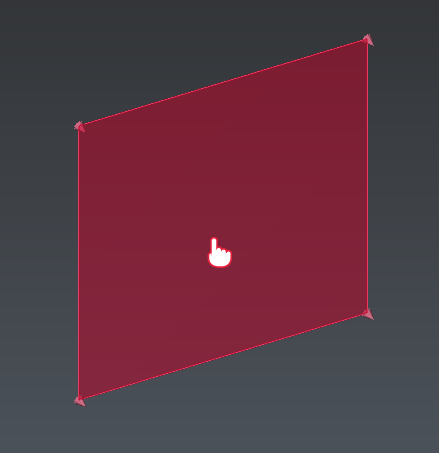
Drag and drop the plane to move it. Alternatively, you can select the plane and use CTRL+Mouse Wheel to move the plane by increment, along its direction. |
|
|
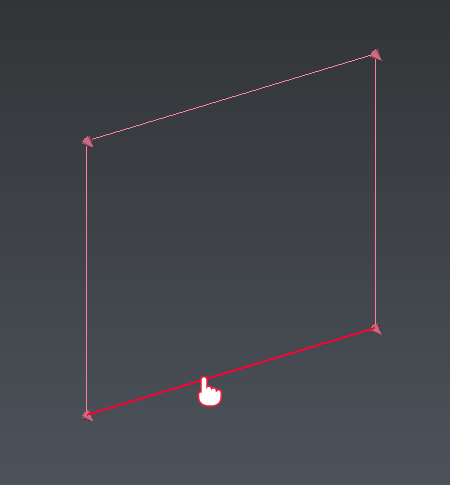
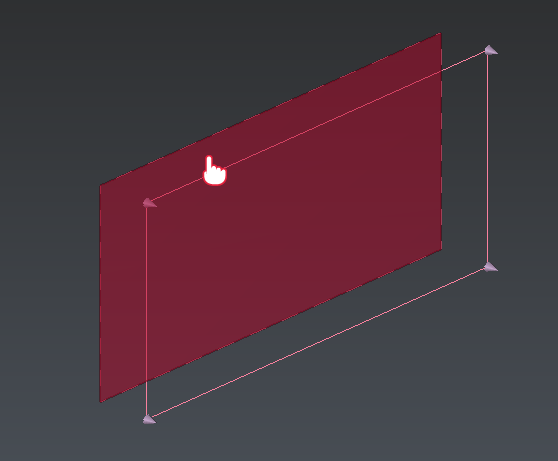
Edit the orientation around one axis by clicking the corresponding edge of the plane and moving the mouse. |
|
|
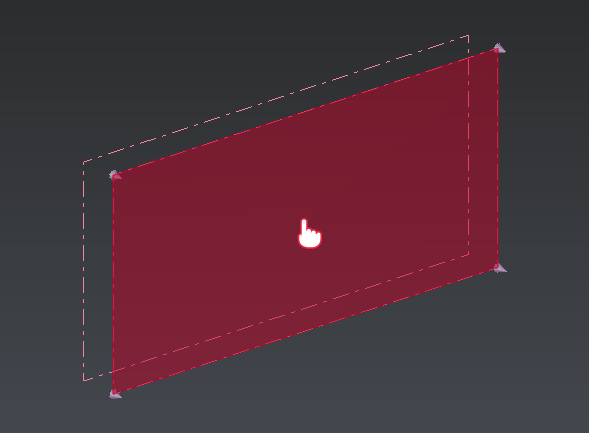
Use CTRL+Shift + Mouse Wheel to add (from plane to slice) or remove (from slice to plane) depth. |
Editing a limit slice
|
|
Drag and drop the main plane to move the slice. Alternatively, you can select the slice and use:
If the slice has been created along a curve, the slice orientation will follow the curve. |
|
|
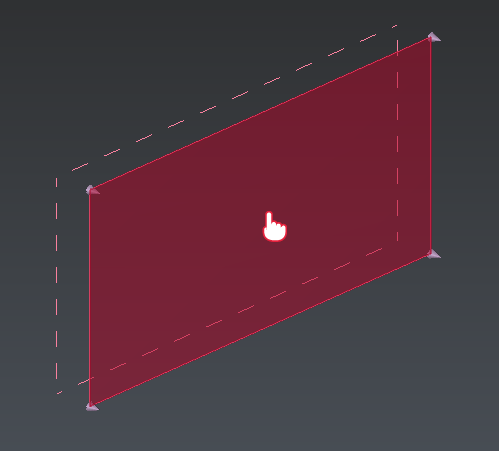
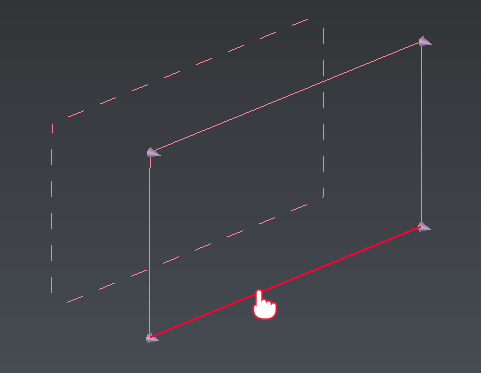
Drag and drop the secondary plane to edit the slice thickness. |
|
|
Edit the orientation of the slice by drag and dropping an edge of the main plane. The rotation center is set in the middle of the slice. |
Notes
A limit plane is always fitting the bounding box of the clipped objects so its center (position) may change when you modify its orientation. That's why even if you define its position (manually or by click), the resulting position may differ since it has been re-centered to fit the bounding box of the clipped object.
When editing with the mouse, pressing the Alt key makes a "slow" motion.
Tips & Tricks
See also definition and application of limit plane here.