Exercise: Complete analysis of a concrete floor
In this command Surface Levelness, you will find complete tools to inspect a surface. You can check the levelness of a floor, the verticality of a wall, the flatness of a road, the local slopes on a terrain.
Check the levelness of a floor
Open the file SectionsBuildingPlan.3dr. It contains one cloud of the walls and one cloud of the floor.
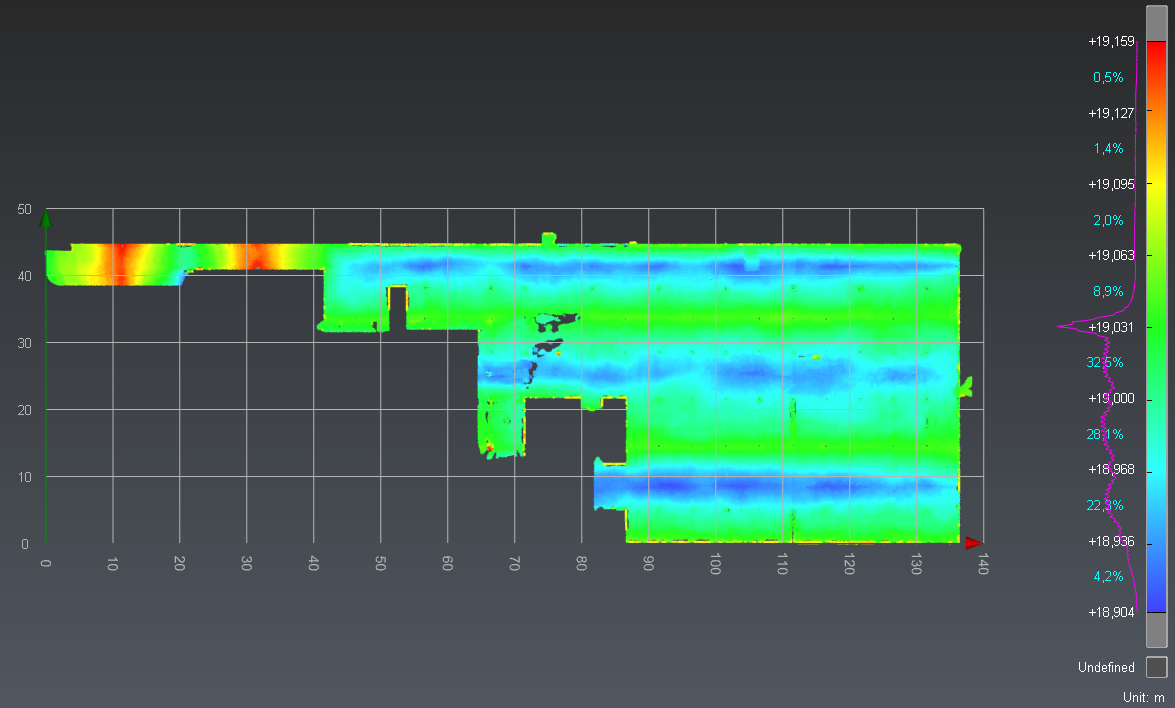
Show only the cloud Floor. Select it and go to Surface Levelness. Choose the Z direction to check the levelness, uncheck Offset value and then click on Preview. The points of the cloud are colored according to their Z coordinate. You can now see the lowest points in dark blue and the highest points in red.
 Check the levelness of a concrete floor
Check the flatness of a surface
This command allows checking if there are bumps or holes in a planar surface. This check can be done on a horizontal surface like a floor, but also on any other surface.
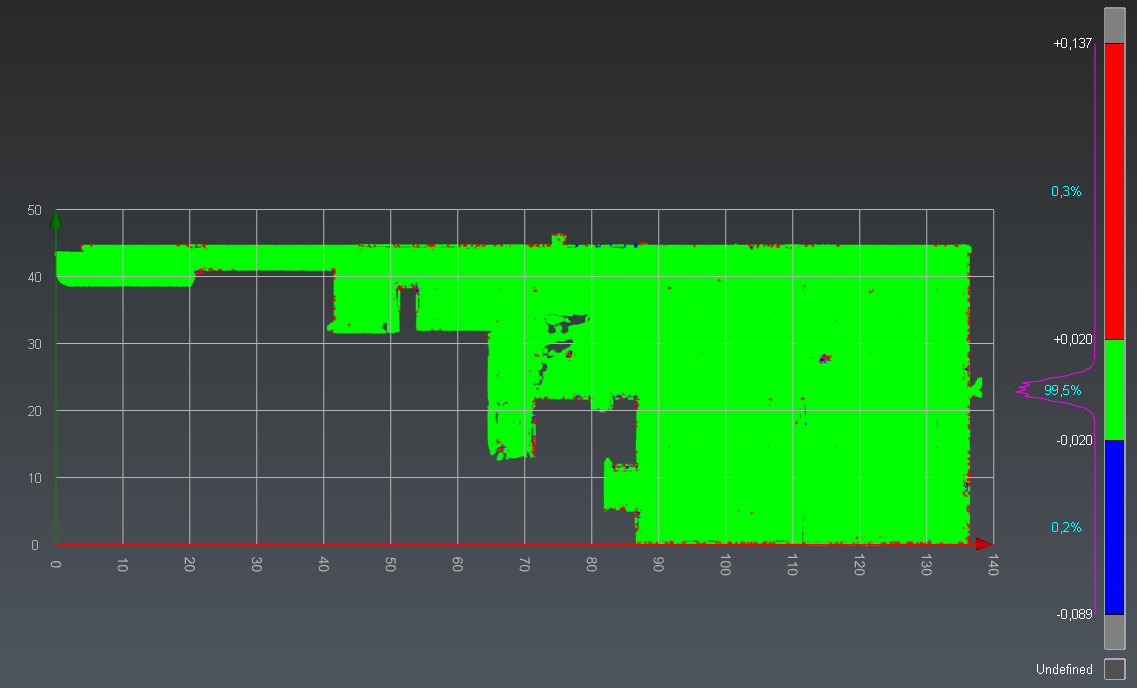
Show only the cloud Floor and select it again then go to Surface Flatness. Give the parameters to check the flatness: set 1 m for the Ruler dimension and 0.02 m for the tolerance. This means that if you put a 1 meter long ruler on the floor, you expect no point from the floor to be further than 2 centimeters from the ruler.
Click Preview. We can see here that 99.5% of the floor matches the tolerance. This means this floor is flat regarding this tolerance. There are only a few red and blue points where the posts and walls are.
 Check the flatness of a concrete floor
Check the local slope on a surface
The last command allows measuring the local slope on each point of a cloud or a mesh.
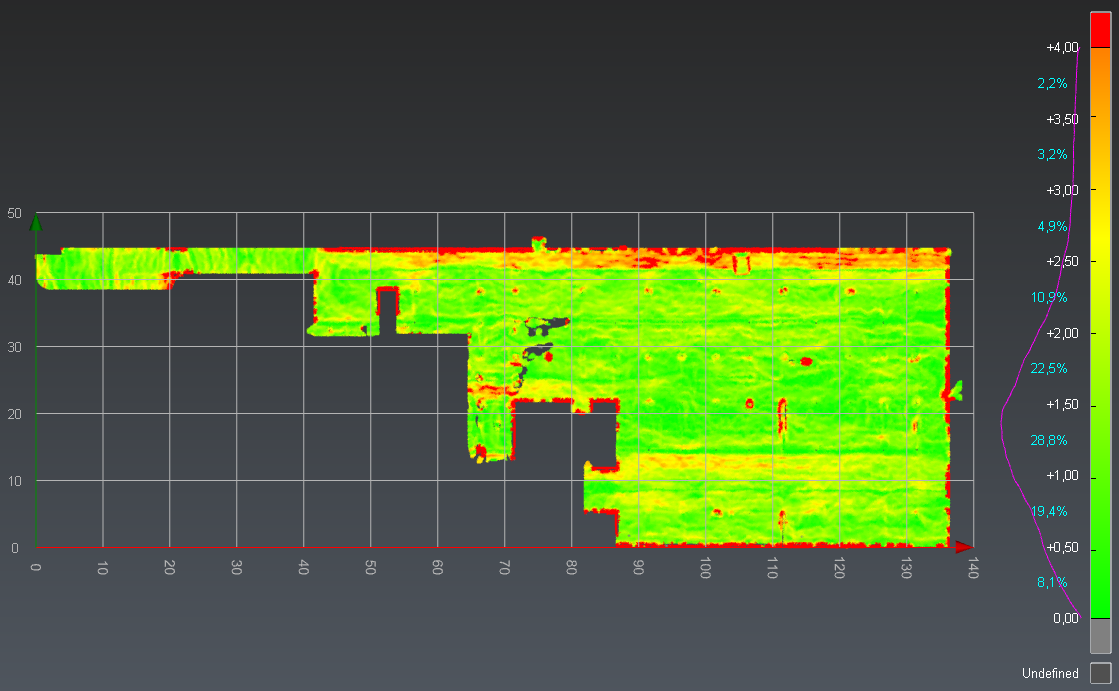
Show only the cloud Floor and select it again then go to Slope Analysis. Set 4% as the maximum slope tolerance. In this way, you will check that the entire floor does not contain a zone with a slope higher than 4%. Set the local normal smoothing cursor in the middle to compute the slope on zones that are approximately 40 cm wide. Click Preview to preview the results.
We can see that red zones are only where there are walls and posts.
 Check the slopes on a concrete floor
Make a report
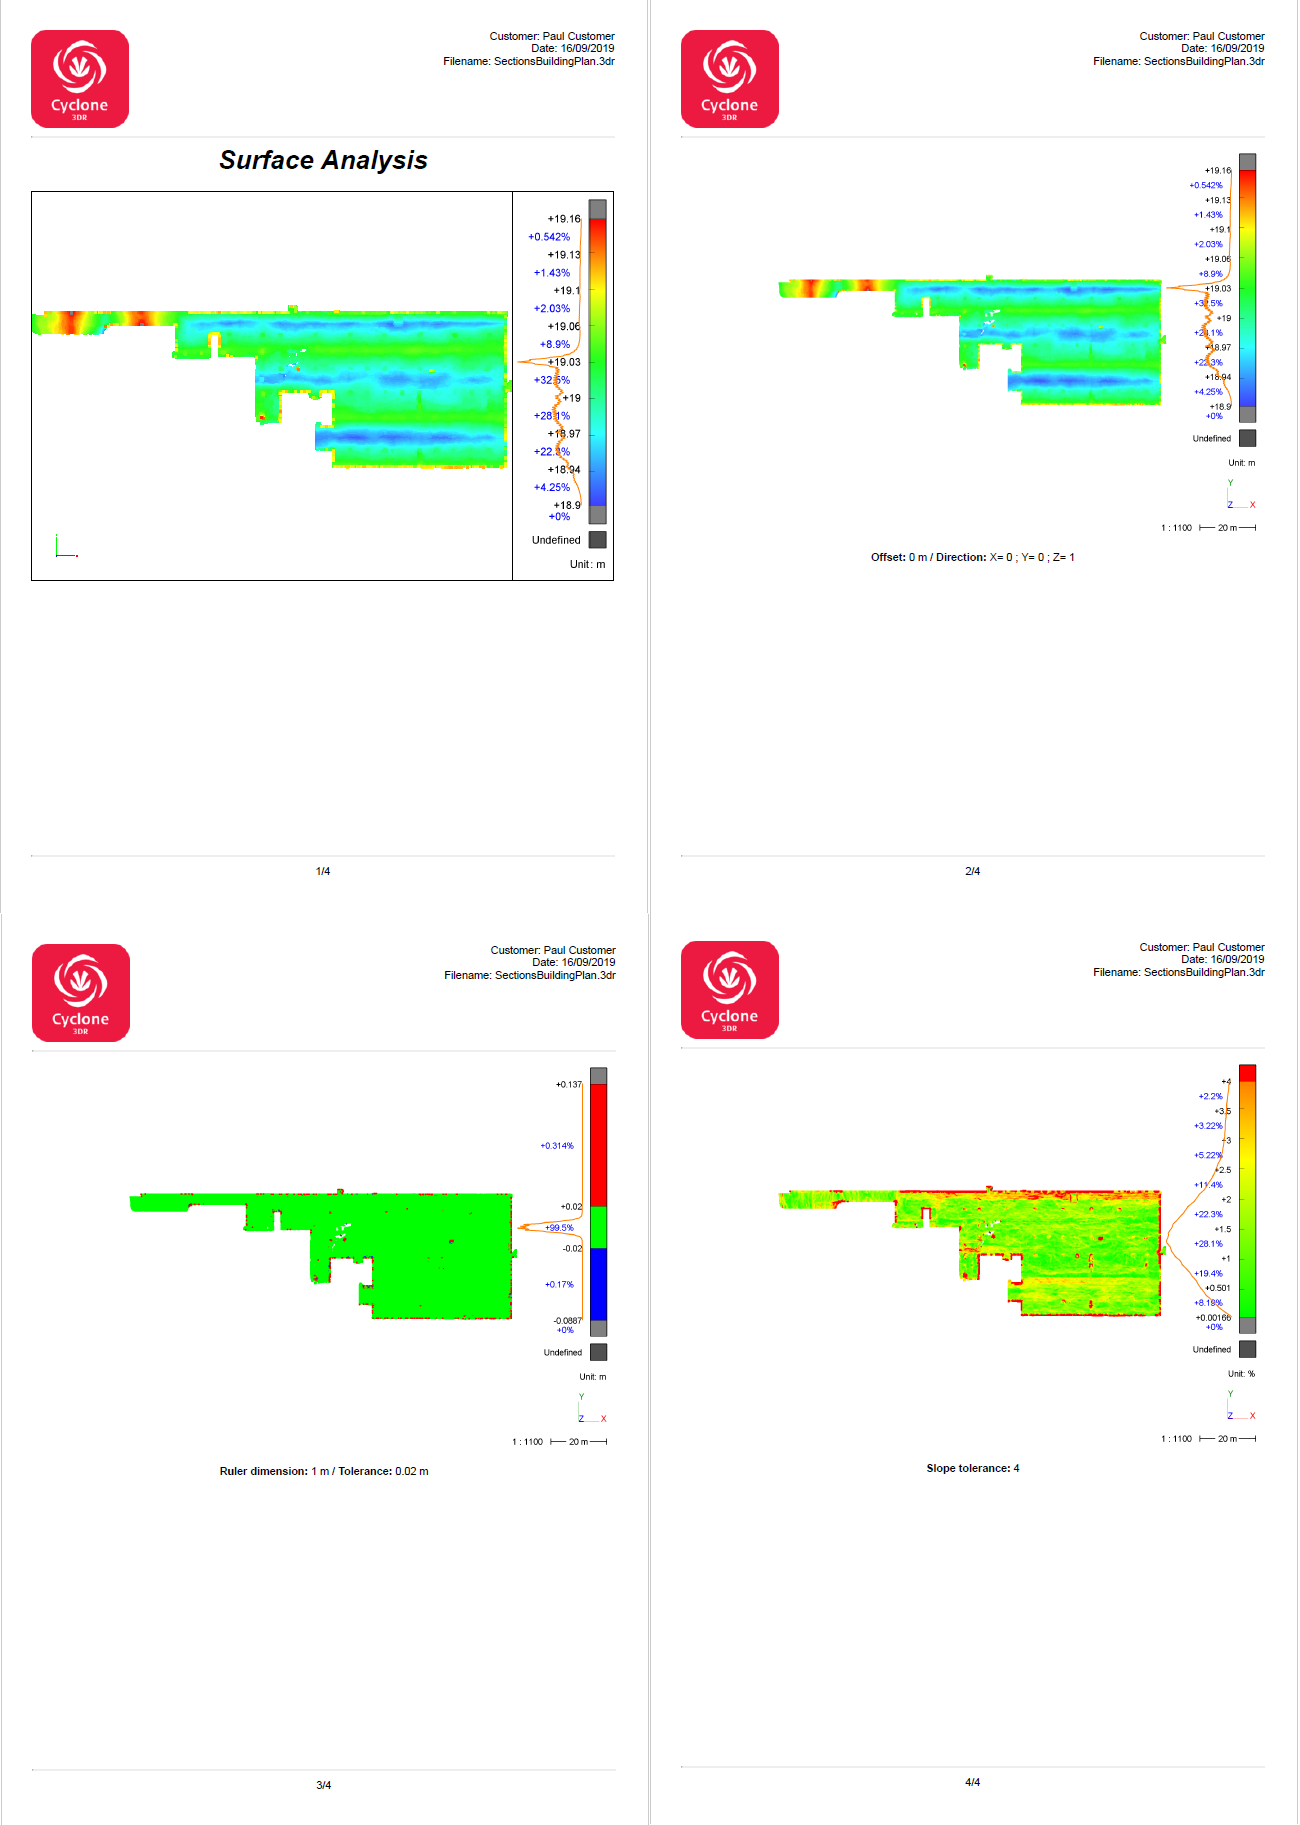
Now, you can create a pdf report with this analysis. Launch the Report Editor by clicking on the report menu in the ribbon. 4 chapters have been added to the report:
Cover
Surface flatness
Surface levelness
Slope analysis
Click New Chapter to create an empty one called "Title page". Remove the chapter called Cover. Drag and drop the chapters so as to sort out your report as the following: Title page; Surface levelness; Surface flatness; Slope analysis. You can activate Live Preview to see the result before exporting the PDF.
Choose a portrait orientation inside the layout panel. Apply header and footer for all the pages.
In the header, keep only two cells.
Add your company logo in the header left cell: import your logo double clicking the Company logo icon in Environment data (data panel). Then, insert it in the left cell.
In the header right cell, clear the content. Then, add the current date by dragging and dropping from the data panel an automatic value. Repeat the same workflow for the customer name and the filename. Align these texts to the right using the text toolbar.
In the footer: keep one cell, add the current page and the total page. Align center these texts using the text toolbar.
In the body area: keep one cell, transform the cell into a text area and write the title report "Surface Analysis". Format it using an appropriate style.
Add a cell below and insert the levelness viewset in 3D Mode.
In other chapters: add a cell containing the chapter title, format the texts.
Modify 2D scenes so as to set the scale to 1:1000. Choose to display the grid.
Optionally, export the chapters as new templates using
icon.
Finally, click on To PDF to generate the report.
 Report