Limit objects
Limit object definition
A limit object (plane, slice or box) is a visualization tool which helps to see inside an object without modifying it. Consider a limit plane as an infinite plane, everything on one side of the plane is hidden (clipped) and the other side remains visible. A slice is made of 2 limit planes. A box is made of 6 limit planes.
In order to visually differentiate a limit plane and a normal geometric plane, a limit plane is displayed with an arrow at each of its corner.
Creation of a limit plane
There are many ways to create a limit plane. Launch the command Limit Plane
View Top to clip the object in the Z direction.
View Front to clip the object in the -Y direction.
View Left to clip the object in the -X direction.
View Back to clip the object in the Y direction.
View Right to clip the object in the X direction.
View Bottom to clip the object in the -Z direction.
Creation of a limit slice
There are many ways to create a limit slice. Launch the command Limit Slice
X Axis
Y Axis
Z Axis
to create a limit slice thanks to two seed points. Or Launch the command Quick Slice
Quick Slice along X
Quick Slice along Y
Quick Slice along Z
Quick Slice along Curve
to create a slice with a default depth of 0.2.
The depth can be edited in the limit plane edition dialog or using mouse and keyboard shortcuts (refer to, the section Limit object manipulation).
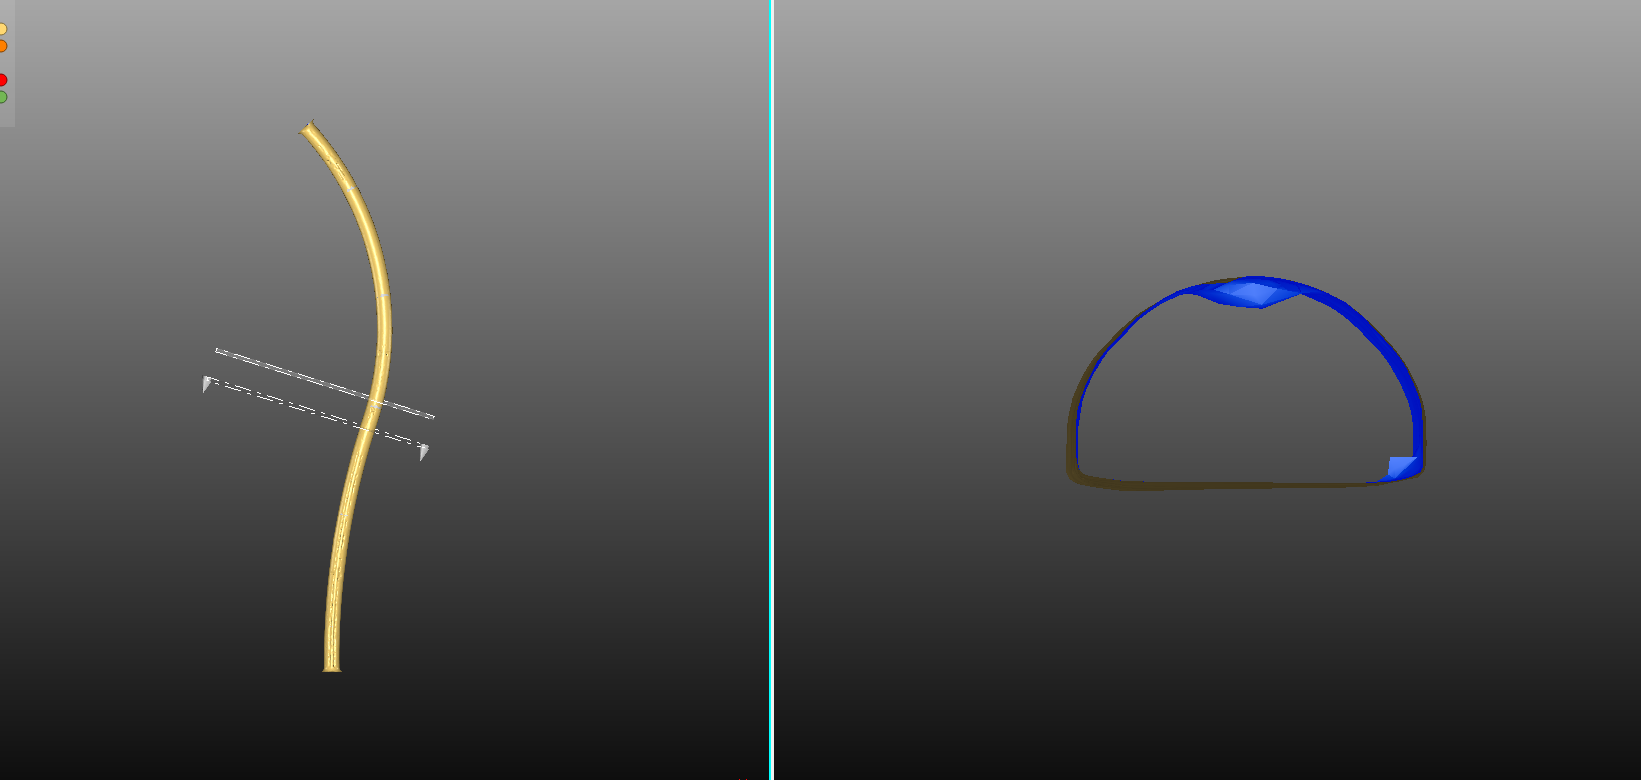
Limit slice allows to vizualize a portion of a tunnel to see defects
Creation of a limit box
There are many ways to create a limit box. Launch the command:
Edition of a limit object
To edit a limit object:
Double-click on a limit object from the tree or the 3D scene.
Using the contextual menu, select a limit object and right-click on it, and choose Edit.
If the object is a limit plane or limit slice, an edition dialog box appears.
If the object is a limit box, a tool will be displayed in scene to edit the current box.
Activation of a limit object
To activate/deactivate a limit object:
Using the contextual menu. Select it, right-click and go to Clipping Object. You can activate / deactivate it.
Using the icon in the tree
 .
.
|
|
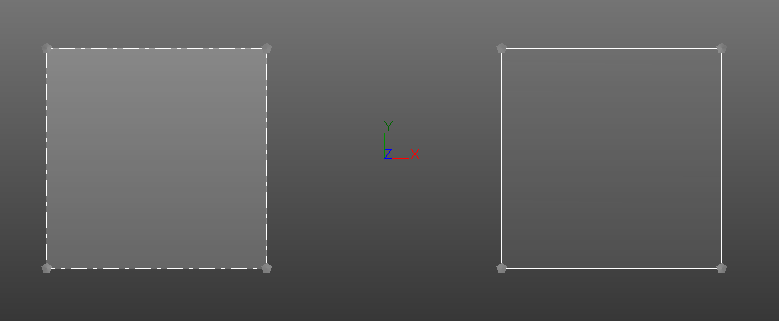
A deactivated limit object has its borders represented as dashed lines (left). An activated limit object has its borders represented as plain lines (right). |
Applying a limit object to components (Association mode)
It is possible to not apply a limit plane or slice on a specific object. To do that, click on the colored disk of an object in the tree, and choose to deactivate limit objects on it.
After that, inside the limit plane (or slice) edition dialog, you have the possibility to choose between:
All visible (automatic): a limit object is applied to all visible components (default behavior)
User-defined (manual): a limit object is only applied to a list of components
Maximum number of activated limit objects
The number of limit planes or slices activated at the same time is limited to 4 (or 3 depending on your openGL version and the graphic board).
The number of limit boxes activated at the same time is limited to 1. And, in this case, the number of limit planes or slices activated at the same time is limited to 1.
"Moving limit object" mode
The "moving limit object" mode allows to move very easily any limit object with the mouse when the mouse is over a plane (without displaying the limit object edition dialog).
In this mode, just move the mouse over a limit plane, and then drag and drop it, it will be translated along its path/normal. When the mouse is close to the frame of the plane, the user has the possibility to rotate the plane.
To activate the "moving limit object" mode allowing the plane manipulation, press CTRL+SPACE. All limit objects become red and can be manipulated by drag and drop. To exit the "moving limit object" mode, just press again CTRL+SPACE or ESC.
A limit object can be both Activated & Invisible. So that, it will not interfere with the mouse click in the scene (for entity selection or point probing). As soon as you want to move them, just enter into "moving limit object mode" (CTRL+Space), all limit objects will reappear.
Limit object manipulation
Refer to the following table to learn how to interact with a limit object in the 3D scene.
|
Mode |
Action |
Keyboard |
Mouse |
Note |
||||
|
CTRL |
SHIFT |
LEFT |
WHEEL |
RIGHT |
motion |
|||
|
Edit Limit plane or slice dialog box (double click on a limit object) |
Translation of the 1st plane |
|
|
Select the plane to move |
||||
|
Translation of the 2nd plane (depth edition) |
|
|
|
|||||
|
"Moving limit object" mode (CTRL+SPACE) |
Translation of the plane |
|
|
Move the mouse over the plane to translate |
||||
|
Rotation of the plane |
|
|
Move the mouse over the frame of the plane to rotate |
|||||
Note
In all configurations, pressing the Alt key makes a "slow" motion.