Exercise: Texture a building mesh using several textures
In this exercise, we will texture the outer walls of a building in several steps, using:
an image,
a material (repetitive picture), and
a point cloud with real colors.
Open the file
Open the file TexturePhotomodel.3dr. It contains a mesh, a point cloud with real colors and two images.
Texture the main frontage with an image
Select the mesh and MainFrontageImage, then launch Standard Texture.
Choose the option At least one visible vertex and click OK to validate.
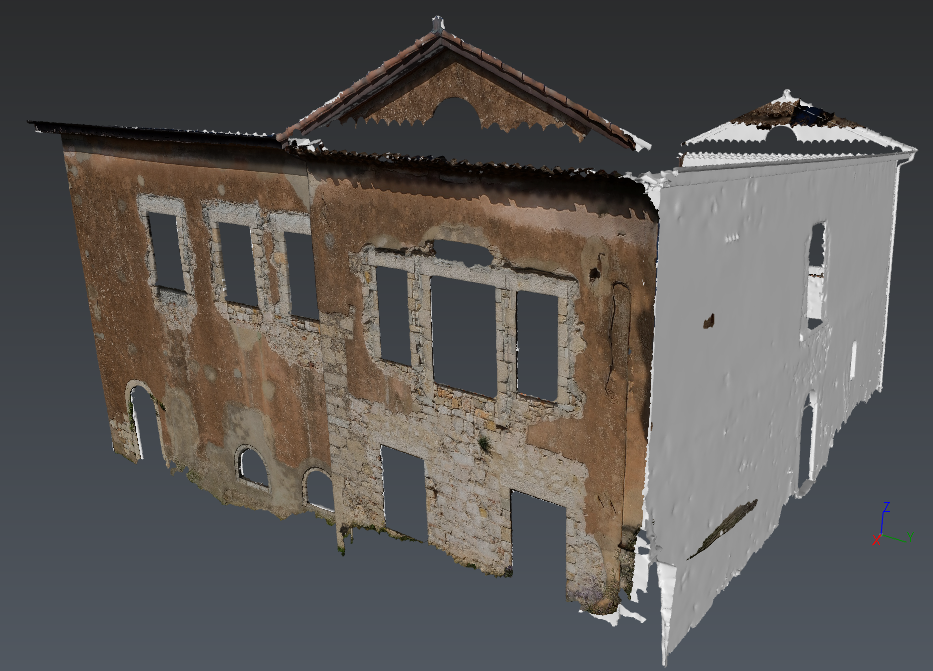 Fig.1 Standard Texture
Now, the first side is well textured. However, the image overlays other walls, which are now partially textured. We are going to correct it in the next step.
Adjust texture on the side wall
Before texturing other faces of the building, we will first remove the texture coming from the image from walls where it should not have been applied.
Select the mesh and launch Adjust Textures.
From the toolbar, choose Select Through, No Filter and Remove Current Texture.
Rotate the view as below to remove only the texture on the other sides.
Click OK to validate the command.
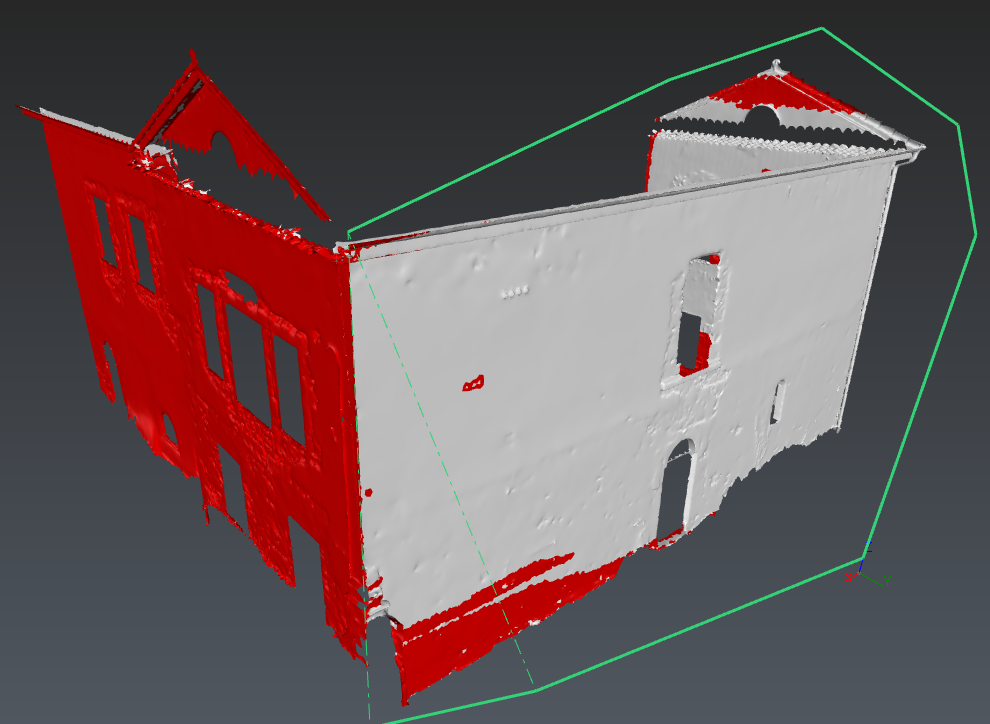 Fig.2 Erase a texture
Texture the side wall with a material
The next step will be to texture the side wall using a material.
Select the mesh and TextureMaterial image, then launch Texture Material.
Choose to Keep proportions and select Preserve existing texture.
Set the View direction using the normal of the second frontage (refer to Define normal direction).
Changing the numbers of repetitions can improve the aspect of the texture: the picture is very stretched with 1 repetition whereas the result is better with 10. Try several numbers of repetitions and keep 10 repetitions, for instance.
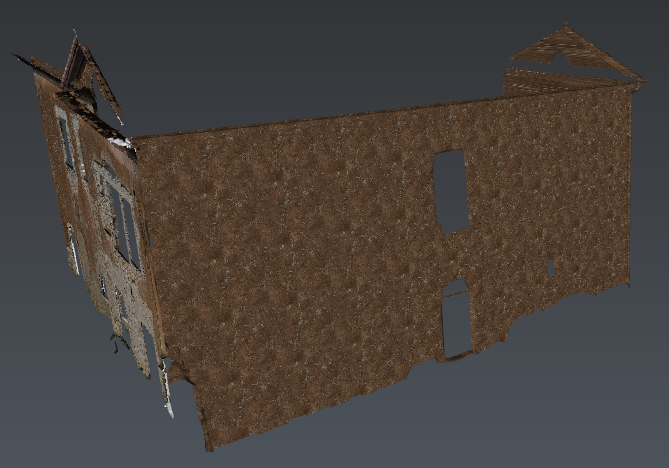 Fig.3 Complete the texture with a repetitive pattern
Then remove, the repetitive texture on the last side using Adjust Textures.
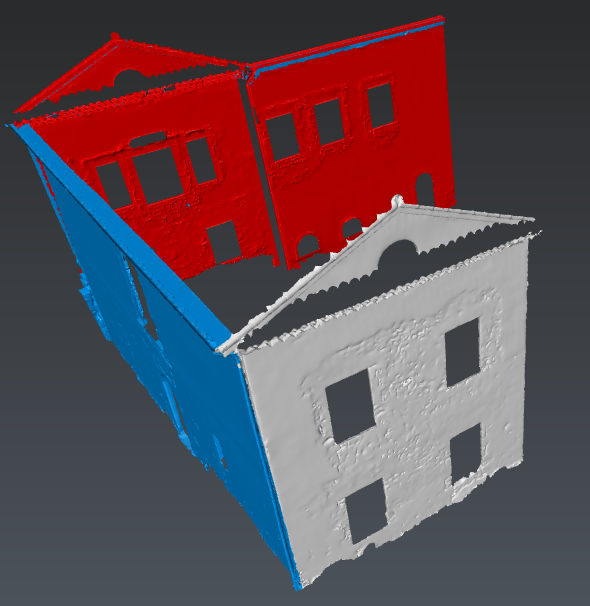 Fig.4 Adjust Textures (2)
Color the mesh with a point cloud
We will now create a texture on the last side using the colors coming from the original point cloud.
Select the mesh and the point cloud and launch Texture from Clouds.
Set the Maximum distance to 5 cm, the Pixel size to 1 cm, the Default color to white and select the option Preserve existing texturing in order to keep the previous result.
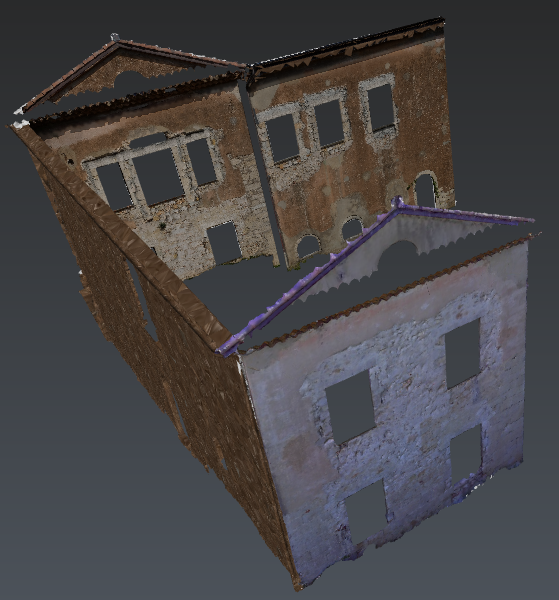 Fig.5 Texture using the cloud
Now, you can enjoy your photomodel.