Exercise: Texture a mesh with spherical images
Open the file “Aqueduct.3dr”.
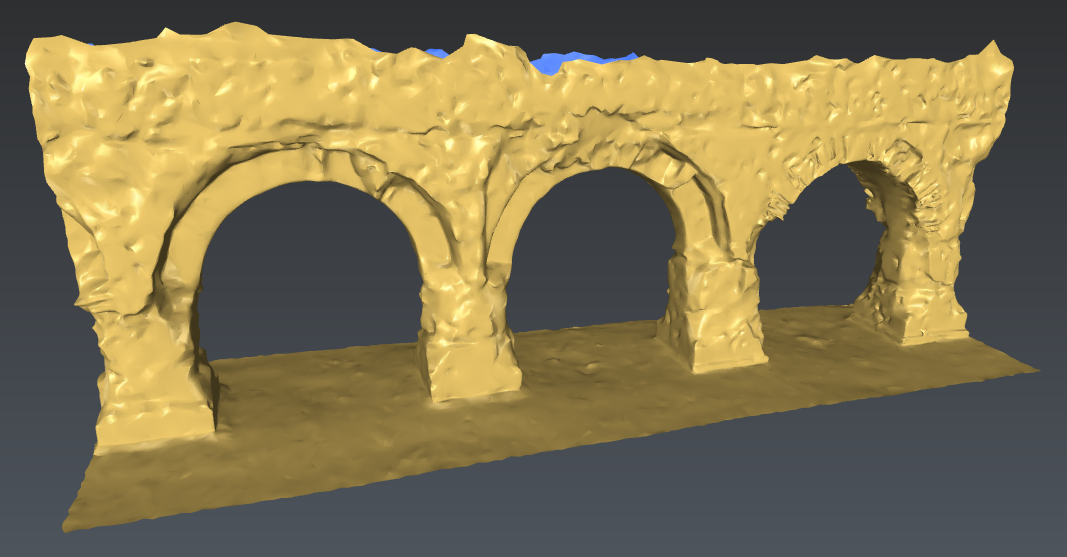 The aqueduct to texture
Smart or Standard Texture
In Exercise: Texture a mesh with reference points, the texturing was performed by Standard Texture. Now, we are going to use Smart Texture. These commands are almost similar in their use but technically different.
Standard Texture provides a dynamic texture: image areas are selected to be projected onto a mesh. If the mesh is modified, for instance by a smoothing, the areas will continue to be projected onto the mesh. That is why, you can also modify the pairing between images and the mesh using Adjust Textures. Note that the original images are fully stored in the mesh object: you can restore them using Extract Texture.
Smart Texture provides a static texture: the texture is painted on each face. Any mesh modification, done later, will affect the texturing. Thus Adjust Textures is only suitable to remove the texture locally, for instance to replace the texture by another one (Texture from Clouds, Texture Material or Standard Texture). Note that the mesh will store a texturing map (not the original images).
Beside these differences, Smart Texture can be used with more images at the same time and supports masks. For instance, when using images with blank areas (spherical images), the corresponding areas will no longer be used.
 Standard Texture: one color=one image
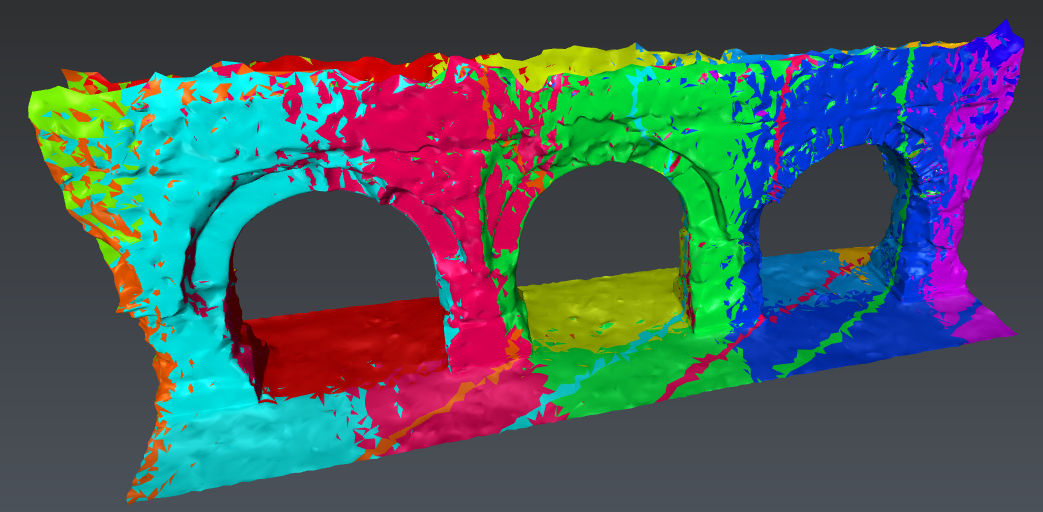
 Smart Texture: one color=one texturing map
Smart Texture
This sample was measured by a Leica BLK 2Go and imported from a LGS file. Then a mesh was created.
Select all images and the mesh, then launch Smart Texture. Set the Pixel Size to 5mm, check Optimize the mesh and run the computation.
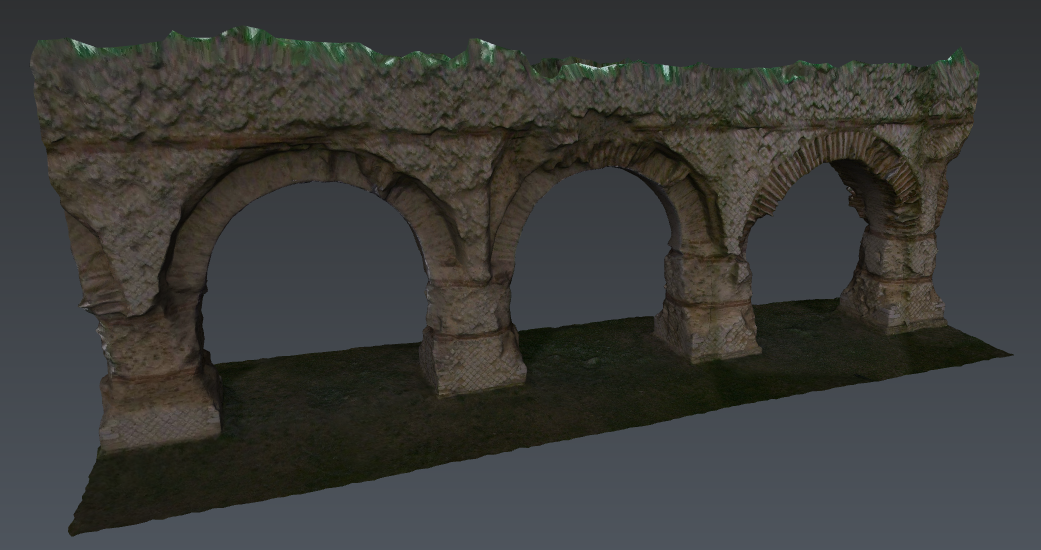 Smart Texture result
Note that, as expected, the blank areas are not used. Open the Image Preview of Spherical 1. You can switch the preview between the image and its mask.
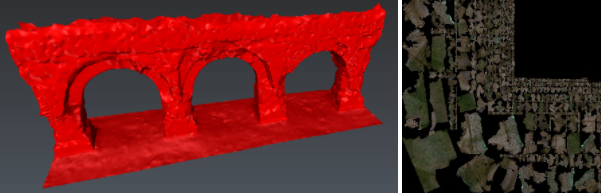
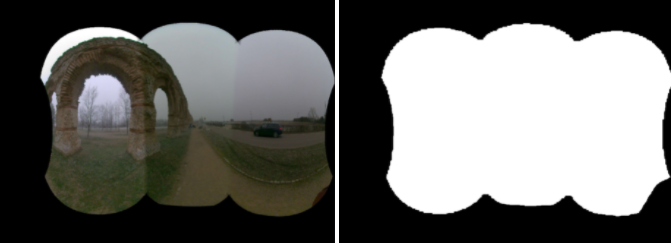 Image Preview
If the automatic mask is not suitable, you can clear it using Clear Mask.
Adjustments
If some areas are still incorrect or missing, it is possible to remove the texture locally using Adjust Textures. Select the mesh and run Adjust Textures. Choose the Textures display mode and the Remove All option. Then, remove a small area.
Now, you can complete the texture using another images or the real color of the cloud. Refer to Exercise: Texture a building mesh using several textures.