Exercise: Group images and Edit image set
Open the file Aqueduct.3dr.
Group images
In this project, you can see 12 images in the treeview.
You can display them and their positions in the graphic scene. Check Image management and Image Navigation toolbar for more information.
Similar objects (such as clouds, meshes, polylines and images) can be grouped together as well to create a set where you can manage them more easily, especially if there are a lot of them.
Select all individual images in the tree view, right click to display the contextual menu and choose Group or CTRL+G .
There are two methods for grouping images.
The strictest will create a set containing 12 images and 12 positions, while the other will group the images in a given position according to their distance from each other (in this case in 5 positions if you enter 8 meters).
 Group Images: strictly or according to a distance
In both cases, you will create a new object in the treeview called Set of images instead of the 12 separate images you had before.
We remind you that the goal of a set of images is to store many images grouped by position (that is to say per setup or per trajectory way points).
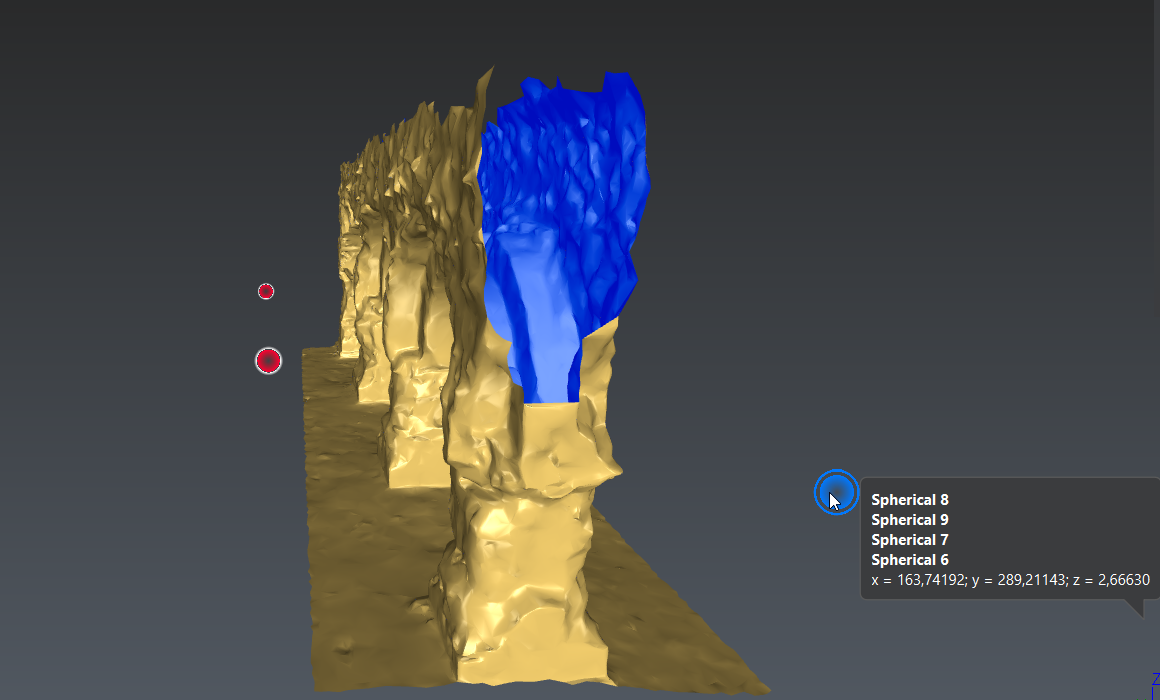
You can still click on the red spheres to display the image(s) contained in the given position. If there are several ones in one single position, use the image navigation bar to select the image that you want to display.
You can click on the small icon to the right of the tree to modify the mask of all images included in the set.
You can use Smart Texture to apply all or the selected image(s) in the set (see below) onto the mesh (select the set and the mesh).
Edit a set of images
To edit the group of images, Double click, CTRL+SHIFT+G or display the contextual menu and select Edit or Group.
From the Edit Image Set windows, you can decide to:
filter the images and positions
select one or several images in the command window or in the graphic scene.
decide if you want to extract the selected image(s) from the set (the extracted image will be put in the Images Group folder in the tree view; but separately from the set).
decide if you want to use the image(s) to texture.
preview the image(s), the corresponding mask and properties (that you can copy and paste).
 Edit Image Set: select one or several images